In ActivePresenter, each slide may have numerous objects, such as shapes, text captions, images, videos, and so on. You can arrange the objects in many ways to create precise and professional-looking slides. Today’s tutorial shows you how to order objects.
When being inserted into a slide, new objects are placed in front of others and may cover them partly or fully. This stack order of objects is called z-order. You can arrange objects in z-order such as moving them to the front or the back of other objects with ease.
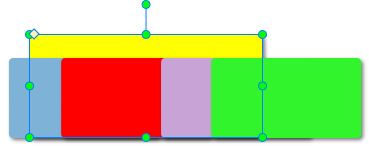
For example, I have 5 colored cards arranged in the order as shown below.
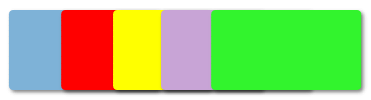
Then, I will show you how the order feature in ActivePresenter 8 works through changing the order of the yellow card. Let’s get started.
Order Objects Using Order Tools
To change the stack order, do the following:
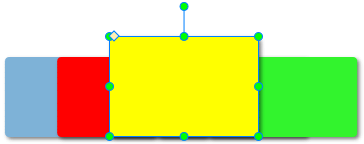
Step 1: Select one or more objects.
Step 2: Click the Home tab > Arrange > Order or the Format tab > Order. Alternatively, on the Canvas or in the timeline, right-click objects (time bars) > Display Order.
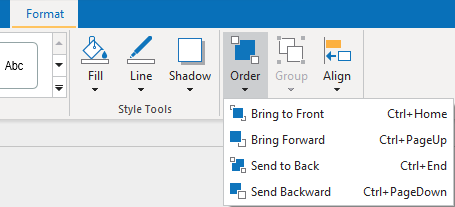
Step 3: Choose the desired display order options:
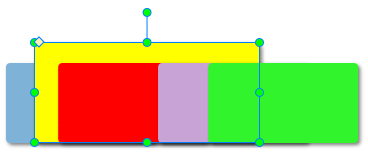
- Bring to Front (CTRL+HOME): Place the selected object at the very top of the others.
- Bring Forward (CTRL+PAGE UP): Move the selected object one step to the front.
- Send to Back (CTRL+END): Place the selected object at the very bottom of the others.
- Send Backward (CTRL+PAGE DOWN): Move the selected object one step to the bottom.
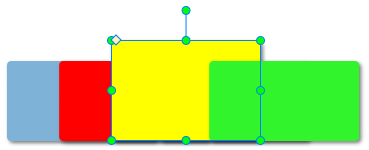
Note: These display order options let you set the z-order of objects even when they do not overlap each other. So, you can bring an object to the front or the back to easily identify and work on it.
Order Objects by Drag-n-Drop
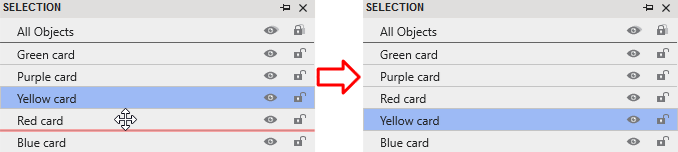
You can also change the z-order more quickly by dragging and dropping objects in the Selection pane. To open this pane, just go to the View tab > Selection. Then, select the desired element, drag it to a new position that you want until a red line appears, and drop it. Moving an object lower means that you bring it one step to the back of the stack.
So, now you know how to change z-order of objects in ActivePresenter 8. Download and feel free to contact us if you need any support.
See also: