In previous tutorials, you’ve known how to insert shapes and images into ActivePresenter 8 projects. So, today, let’s explore how to work with another annotation object. That is Text Captions. You can easily insert Text Captions in ActivePresenter 8 with just some clicks.
In general, text captions are useful to direct attention toward certain areas in a slide. On the other hand, you can use them to give viewers extra information about important concepts. Here is an example of using text captions in an eLearning question.
In ActivePresenter 8, inserting text captions by using the Text Caption button is just a breeze. When you click this button, you have a text caption object as a type of annotation object.
Add Text Captions
In order to add a text caption, follow the procedure:
Step 1: Do either of the following:
In the Home tab > Text Caption
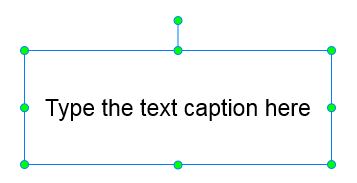
As can be seen, a text caption is a rectangle shape that can contain multi-line formatted text. In fact, it is a variant of the shape object, where only the text is given prominence. Meanwhile, the Fill and Line properties of the shape are muted. Thus, all things you do with shapes are also applied to text captions. That is, you can insert as many text captions as you want, then style them, add animation effects, etc.
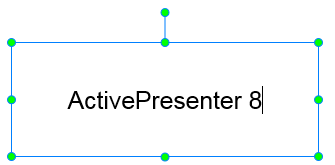
Step 2: Add text to the text caption. To get it done, click the default text and type your desired text.
Customize Text Captions
With ActivePresenter 8, you are free to customize every text caption.
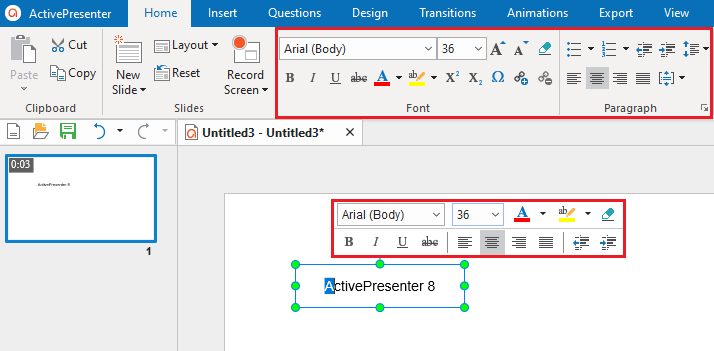
To change the appearance of the text caption, access the Home tab or edit directly in the inline text editor that appears.
Moreover, it is possible to make your text livelier by using several eye-catching animations such as: Grow & Turn, Spin, Peek In, etc,. Take a look at Add Animation Effects for Text in ActivePresenter 8 to know more.
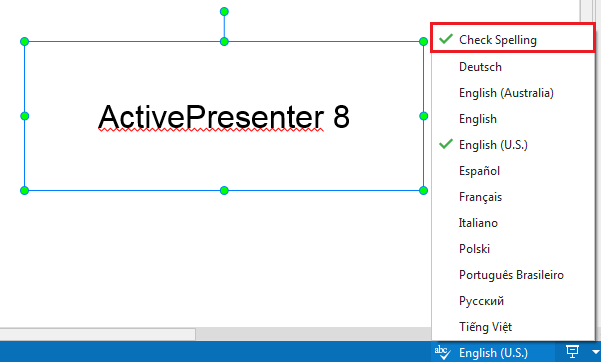
In fact, ActivePresenter offers the automatic spell checking feature. However, you can turn it off by opening the Spell Checker section in the status bar. Then deselect Check Spelling.
Tip: If you add multiple text captions in a slide, it’s useful to specify the order of these objects by using the Tab Order feature. Thanks to that, learners can navigate between text captions using the TAB key in the HTML5 output.
Note: When working with the app, you’ll see other objects, namely closed caption and text entry. Basically, they are different concepts, so don’t confuse them with text captions.
Closed caption is considered as a subtitle. Use it to make your content more accessible for the deaf or hard-of-hearing audiences/learners.
Text entry is one of the interaction objects. Use it to create a blank field where learners can directly enter text.
So, that’s how to add text captions in ActivePresenter 8. Don’t forget to subscribe to our website and YouTube channel so that you will be alerted with all future tutorials.