With the release of the new version, ActivePresenter 9 offers you a new type of interaction object. That’s Slider. In today’s tutorial, let’s explore how to work with sliders in the app.
A slider allows users to select a specific value or drag to define a range along the track. It’s perfect for displaying or selecting values in continuous ranges. As a result, some of its applications are to display stages in a timeline, changing settings such as volume and speed. This feature is now available in the latest ActivePresenter version: 9.0. The app allows you to:
Let’s download ActivePresenter 9 and learn how to add and work with sliders step by step.

Insert Sliders
First of all, to insert sliders, do either of the following:
- In the Insert tab > Slider
 .
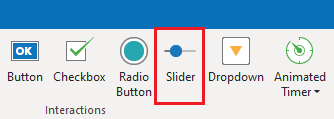
. - Open the Home tab > Interactions > Slider.
Then, the cursor turns into a crosshair. Now, click on any area/position of the Canvas or drag the mouse to draw one.
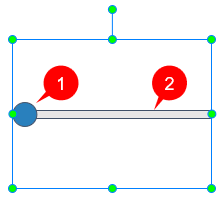
As you can see, there are two parts in a default slider: Thumb (1) and Track (2). The thumb is a blue oval. The track is a gray bar. Its length depends on how long you draw it.
Set up Slider Properties
After that, we can set up the values and properties for sliders. Do as follows:
Step 1: Select a slider.
Step 2: Navigate to the Properties pane > Size & Properties tab > Slider section. There are several parameters here.
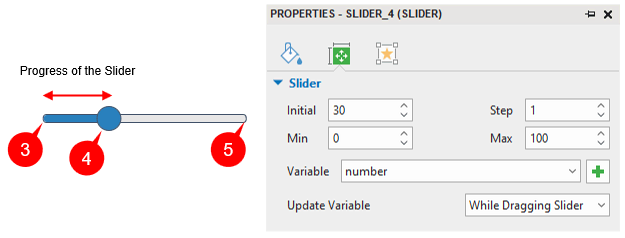
Step 3: Enter numbers in the boxes to specify these values:
- Min: This is the minimum value and starting value of the slider (3).
- Max: This is its maximum value and ending value (5).
- Step: It specifies the size of each movement on the track. As the thumb moves along the track, this is its incremental value. The default value is 1.
- Initial: This one specifies the starting position of the thumb (4). The range of the initial value is from Min to Max and the formula is Initial = Min + n*Step (n is a whole number).
Step 4: Add variables to the slider.
Variable is associated with the slider. Its type is NUMBER. To add a variable to it, you can:
- Click the drop-down arrow and select one from the list.
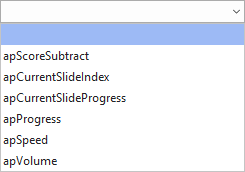
Note: Except for apScoreSubstract, you cannot specify the initial parameter of the slider in the other default variables.
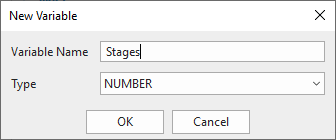
- If the available variables don’t meet your requirements, click
 to add a new variable.
Step 5: Select the way to show the changes in the values.
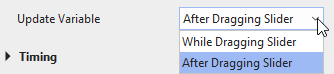
The Update Variable option offers two ways to show the changes:
- While Dragging Slider updates the associated variables while you drag the slider.
- After Dragging Slider only updates the value when you stop dragging and release the mouse.
Work with Slider States
Next, to view and work with slider states, open the View tab > Object States.
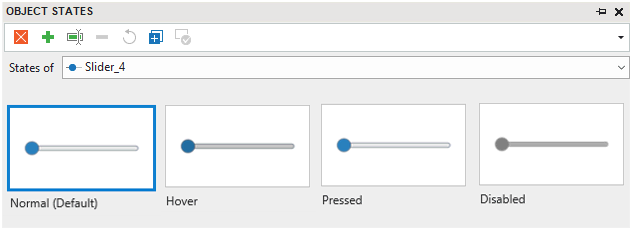
- Normal (Default): This is the default state of the slider.
- Hover: This state shows how it looks when being hovered.
- Pressed: This state presents the look of the slider when it is pressed.
- Disabled: This is the state when the time is over, or cannot respond to any user action.
You can customize those built-in states or add more states if necessary.
Make Sliders Work
To interact with a slider, you need to add events – actions to it. Do the following steps to make it work:
Step 1: Select it.
Step 2: Navigate to the Properties pane > Interactivity tab > Events – Actions section. Click the green button.
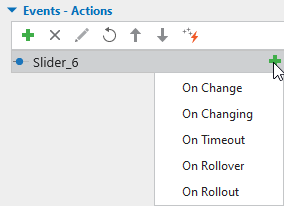
Step 3: Select events in the list.
- On Change: Occur when you finish dragging the thumb or specifying a value on the track and release the mouse.
- On Changing: Occur during the time you drag the thumb along the track.
- On Timeout: Occur when the time is over.
- On Rollover: Occur when the mouse enters the boundary of the slider.
- On Rollout: Occur when the mouse exits its boundary.
After adding events, continue adding actions to events, and conditions to actions if needed.
Style Sliders
Finally, to style the sliders, select it then take advantage of commands and tools in the Format tab.

Here you can:
- Choose a style from the built-in list in the Slider Styles section.
- Change the color of the track, thumb & progress, and the border in Slider Tools.
- Select a design in Quick Style or tools in Style Tools to style its container box. Alternatively, navigate to the Properties pane > Style & Effects tab > Fill/ Line/ Shadow/ Opacity section to do that.
You have learned how to work with sliders in ActivePresenter 9. Download and explore more amazing features that the app brings to you. Follow our YouTube channel for more visual tutorials.
See more: