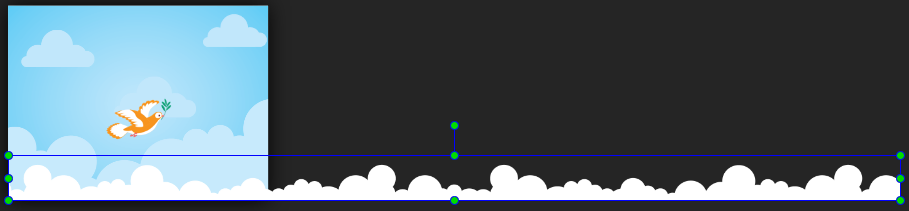
In the tutorial about creating Sprite Sheet animations, this video is used to illustrate the movement of a bird thanks to the Sprite Sheet feature. At first glance, you may think that the bird is flying forward. However, in fact, the bird image is fixed at its position. Meanwhile, the cloud moves backward over the bird to make a more realistic animation. This may arouse your interest in the way the movement of the cloud was created. Let’s find out how to animate background through today’s tutorial.
That is to say, this cloud is an image to be inserted into the scene. There are several different ways to animate this image from right to left. You can create a motion path to the image or change its background image properties.
Create Motion Path
When it comes to movement, you might think of creating a motion path. To speed up your work, using Auto-Keyframes is a great help.
To start, you need to prepare a cloud image. Its width should be larger than the scene width plus moving distance. By this way, it fills the entire scene when moving.
Now, let’s do the following:
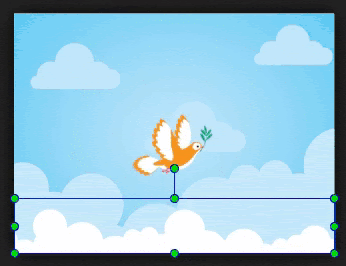
Step 1: To start moving the cloud image to the left, reposition the left side of the image to coincide with the scene. Also, place the bird image fixed in the middle of the scene.
Step 2: Click the Auto-Keyframe Mode button or press the K key to turn on automatic keyframing. Otherwise, click the Auto-Keyframe Range or press the R key to automatically add keyframes in a specific range if you want.
Step 3: Place the Playhead to a timestamp where you want the animation to end.
Step 4: On the Canvas, drag the image to the left of the scene in such a way that the right side also fits into the scene. After dragging, this creates a red line indicating the path of the motion.

At the same time, in the Timeline, this also creates an animation segment between two keyframes.
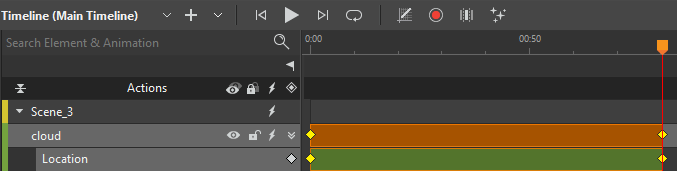
You can drag any of the keyframes to change the duration of the animation segment, meaning to set the speed of cloud movement.
After all, here is the result after adding a motion path to the cloud image:

Step 5: Change the Overflow property of this scene to the Hidden value (Properties pane > Scene tab > Scene section > Overflow > Hidden) to clip any content that extends beyond the scene’s box when previewing or exporting to HTML5.
Note: You can also use the Left/Right property (in the Property pane > Position & Size section) to animate this background.
Change Background Image Properties
Saola Animate enables you to animate the position and size of the embedded image (so-called background image). This way allows you to move the background image within its container (image element) while keeping its container position unchanged.
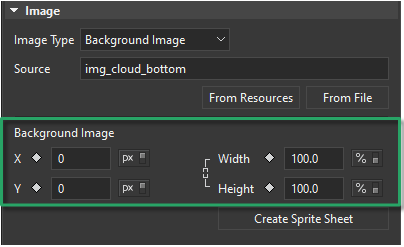
When you insert an image into a scene, you can find these properties in the Properties pane > General tab > Image section > Background Image.
Note: The Background Image section is available for the Background Image type only. If your image is of other image types, you can click the drop-down arrow and switch to the Background Image type.
Do the following to animate the background image:
Step 1: Prepare, insert an image, and place it at the same position mentioned in the Create Motion Path part earlier.
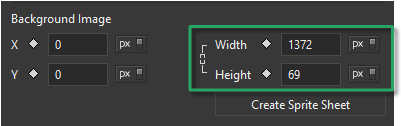
Step 2: In the Properties pane > General tab > Image section > Background Image > change the Width and Height to px unit. It makes the background image show its actual size.
Step 3: By default, a background image is placed at the top-left corner of its container. This corner has x and y coordinates that are horizontal X and vertical Y positions, which are all 0px. To move the background image horizontally from right to left, you need to change its horizontal position, meaning to create an animation for the X property from 0 to a negative value.
In this example, you can create an animation segment for the Background X property with two keyframes. The starting keyframe is [Background X, time: 0s, value: 0px]. The ending keyframe is [Background X, time: 60s, value: -972px].

Thus, the background image will move its horizontal position from 0px to -972px within its container. Meanwhile, the position of its container is fixed.
Step 4: Resize the image element width to coincide with the scene width. This way, you can see the background image move across the scene. For that to be done, in the Properties pane > Position & Size tab, set the image element width to 100%.

Note: An image element maintains its aspect ratio by default, which keeps them proportional while being resized. To change the ratio, click the chain icon to clear the Link width to height chain.
You will get the result like this:
Tip: After creating the animation, you can loop it by using the timeline trigger at the end of the animation with the Start Timeline action. That makes the timeline play and loop as soon as it ends.
That’s it. You’ve learned the ways to animate the background. Try it and don’t hesitate to contact us if you need any support.
Related articles: