Every theme includes a background. Whenever you apply a new theme, the background is replaced. That’s thanks to the preset background style feature of the app. To learn more about how to use and customize the background style, let’s dig deep into this tutorial.
In ActivePresenter 9, each theme contains a set of 12 preset background styles. They come with the Theme Colors you’ve applied to the current project. They may have solid or gradient colors but these colors have the same tone. It comes in handy to use and customize them.
Now, let’s download the app and learn how to use and customize these background styles in this tutorial. It will cover the way to:

Use Preset Background Styles
To access them, follow these steps:
Step 1: Select a slide.
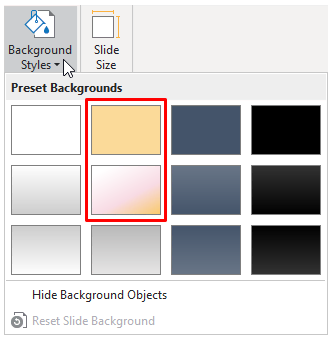
Step 2: Navigate to the Design tab > Background Styles. Then, you see the Preset Backgrounds gallery.
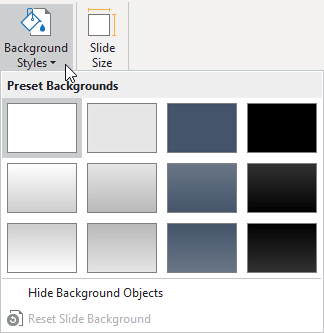
In the gallery, one of these 12 styles is highlighted with a gray outline. In fact, this indicates the style applied to the selected slide. You can hover over any style to see how it will affect the look of your slide.
Step 3: Click any style you want to apply a preset background style. This changes the background style of all slides that use the same slide master as the selected slide.
To have more options, right-click a style, and do either of the following:
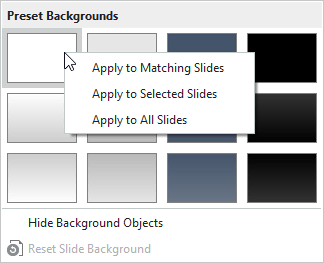
- Apply to Matching Slides: This option works the same way as when you click a preset background style.
- Apply to Selected Slides: This one applies the style to currently selected slides only. The option is useful when you want to apply different styles to different slides.
- Apply to All Slides: It applies the style to all slides in your working project, even if they belong to different slide masters.
Note:
- When you switch to a new theme, the new styles are updated.
- The colors of those styles are based on the Theme Colors.
- If the new one doesn’t satisfy you, click Reset Slide Background to restore the original slide background.
- The Hide Background Objects option is available for slide layouts and slides only. When checked, this option hides objects in the slide master that is used by the slide.
Customize Preset Background Styles
ActivePresenter 9 lets you customize Preset Background Styles. This means you’re able to create your own set of them. Note that you need to have a basic knowledge of slide masters to do this task.
Then, perform these steps:
Step 1: Select the slide you want to change.
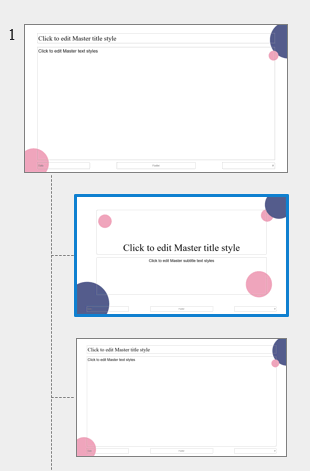
Step 2: Click Slide Master in the View tab. Then, the Master View appears. Looking at the left pane, you see a selected layout used by the current slide.
Step 3: Navigate to the Properties pane > Slide Properties tab > Background Fill section.
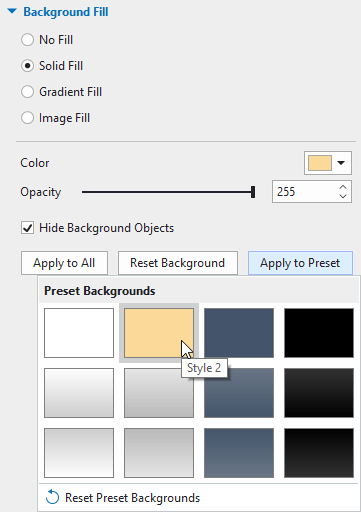
Here you have three options to customize the background style. So, select any of them:
- Solid Fill: Add a solid color background to your slide. Click the Color list and select one of them.
- Gradient Fill: Specify a gradient as a slide background. A gradient is a mix of two or more colors that merge into each other.
- Image Fill: Import an image from your file system as a slide background.
Step 4: Click Apply to Preset and select any preset background you wish to change. In this way, you can see the new color is applied to it immediately.
In case the changes don’t please you, click Reset Background to revert to the original background.
Step 5: Navigate to the Slide Master tab > Close Master View.
Now, open the Design tab > Background Styles to see the new preset background styles.
That’s how to use Preset Background Styles in ActivePresenter 9. Don’t forget to contact us if you need any support. Follow our YouTube Channel, Tutorials, and Blog page to get more up-to-date information.
See more: