ActivePresenter 9 allows you to add a visual timer to your eLearning courses using animated timers to limit how long learners can respond to a question/test. In this article, let’s learn more about it.
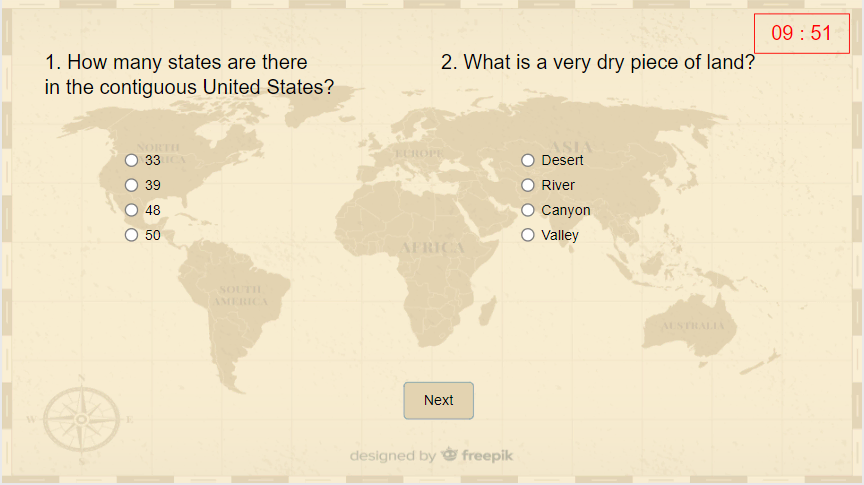
The animated timer is one of the 10 interaction objects in ActivePresenter 9. It’s preferred in creating a sense of urgency, tension, or pressure and simulating practical tasks that involve time constraints. For example, you add a countdown timer to an online test. Thanks to that, learners know how much time they have to fulfill the test.
This tutorial covers:
- Insert animated timers
- Customize animated timers
- Edit attributes of animated timers
- Add events – actions
Insert Animated Timers
To insert an animated timer, do either of the following ways:
- Open the Insert tab > Animated Timer > select either Timer (1) or Progress (2).
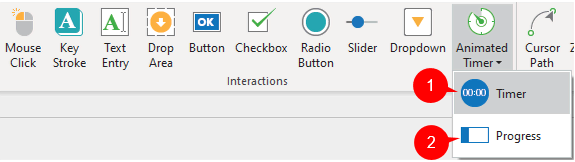
- Open the Home tab > Interactions > Animated Timer > select either Timer (1) or Progress (2).
There are two types of animated timers: Timer and Progress. The Timer shows the remaining time (if it counts down) or the elapsed time (if it counts up) in number. Meanwhile, the Progress only shows the time as a visual progression bar.
Customize Animated Timers
You can customize animated timers as other interaction objects:
- Format animated timers: Select the animated timer then change the fill style, border, etc. in the Format or the Style & Effects tab of the Properties pane.
- Resize animated timers: Drag the resizing handles, or adjust the Width and Height values in the Transform section (Properties pane > Size & Properties tab).
- Change the shape of animated timers: This option is only available for Timer (1). Select the timer > Format tab > Change Shape > select a desired shape.
Edit Attributes of Animated Timers
To adjust the attributes of a timer or a progress, select it, then navigate to the Properties pane > Interactivity tab > Timer:
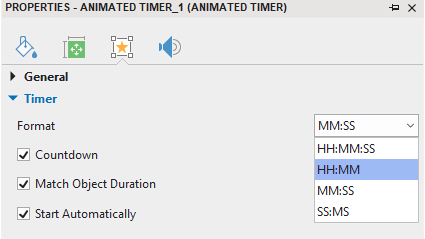
- Format: Select one time format from the list. HH, MM, SS, and MS represent hours, minutes, seconds, and milliseconds respectively. Note that this option is only available for a timer, not available for a progress. By default, a timer appears with MM:SS time format:

- Countdown: Select this option to make the timer/progress countdown. Otherwise, deselect it to make them count up.
- Match Object Duration: This option is selected by default. The time shown on the timer is equal to the object duration in the Timeline pane. If you don’t want this default duration, deselect the checkbox, then specify the new duration that you want.
- Start Automatically: This option is selected by default to make an animated timer start as soon as a timer object starts showing in the main timeline.
Add Events – Actions
To make animated timers interactive, you have to add events – actions to them.
To do that, select it > Properties pane > Interactivity tab > Events – Actions > click the plus button. ActivePresenter 9 provides you with 8 types of events:
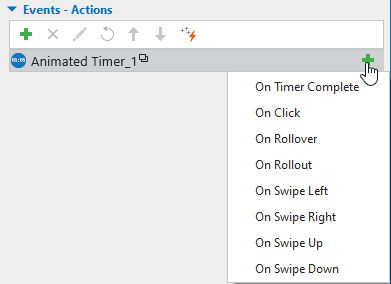
- (1) On Timer Complete: Occur when an animated timer completes counting.
- (2) On Click: Occur when learners click on it.
- (3) On Rollover: Occur when the mouse rolls over it.
- (4) On Rollout: Occur when the mouse rolls out of it.
- (5) On Swipe Left: Occur when learners swipe across it to the left on the touch screen.
- (6) On Swipe Right: Occur when learners swipe across it to the right on the touch screen.
- (7) On Swipe Up: Occur when learners swipe across it to the top of the touch screen.
- (8) On Swipe Down: Occur when learners swipe across it to the bottom of the touch screen.
Then, continue adding actions to events as you want.
Besides, there are three dedicated actions that you can add to other objects to control animated timers: Start Timer, Pause Timer, and Stop Timer.
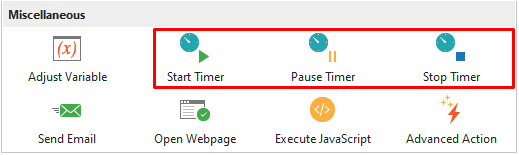
- Start Timer: This action will make an animated timer start counting.
- Pause Timer: This action will make an animated timer pause counting contemporary.
- Stop Timer: This action will make an animated timer stop counting.
On the other hand, you can use Javascript API to trigger these actions as below:
- prez.object(‘TimerA’).startTimer();
- prez.object(‘TimerA’”).pauseTimer();
- prez.object(‘TimerA’).stopTimer();
These two examples below will help you understand better:
(1) When timeout, a Timeout feedback shows up. So, select the On Timer Complete event > Click to add action > Show Feedback Layer > Timeout Feedback.
(2) If learners finish the test, the timer will stop counting. To do that, select the Submit button of the last question > add the On Click event > add the Pause Timer action > select the timer.

For more details, see Work with Events – Actions.
That’s how to use animated timers in ActivePresenter 9. You can download the app and make your course more interactive.

Besides, follow our Tutorials page and YouTube channel for more helpful articles and videos.
See more: