Are you looking for an easy way to make objects change their appearance in response to user interaction? If you are looking for this feature in ActivePresenter, this tutorial is definitely for you. In this tutorial, you will get to know a very practical feature – Object States.
We will walk through 5 steps to work with Object States in ActivePresenter, including:
- Open the Object States pane to enter the editing mode
- Add new states
- Edit states
- Manage states
- Use actions to trigger states
However, firstly, let’s have an overview of this feature.
Overview of Object States
A state is a collection of visual elements (such as color, size, image, etc.) that define the look of an object. In ActivePresenter 8, you can add many states to different types of objects such as shapes, images, buttons, text captions, etc. For example, you can create hover effects for shapes using the Object States feature as guided in the video below:
That’s how this feature will be extremely useful when you need to create interactive courses or e-Learning games.
Now, let’s learn how to work with this feature in ActivePresenter 8.
Open the Object States Pane
To add new states, manage or edit states, firstly, you need to open the Object States pane by one of the following ways:
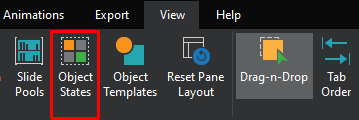
- Open the View tab > click Object States:
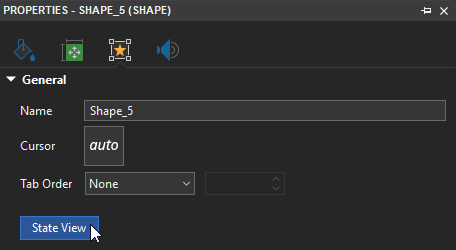
- Select an object, then in the Properties pane > Interactivity tab > General > Click State View:
- Right-click the object > select Object States.
Then, the Object States pane will appear as follows:
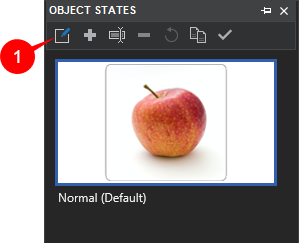
You need to click the Edit States button (1) to enter the editing mode, which allows you to add new states, manage or edit states in the way you want.
Add New States
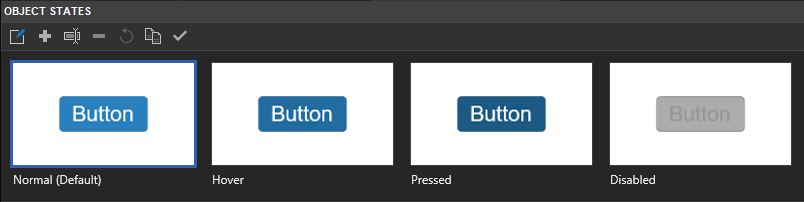
Normally, an object in ActivePresenter has one or more default states. For example, a shape will have only one default state. Meanwhile, a button has four, including Normal (Default), Hover, Pressed, and Disabled:
Besides the default states, ActivePresenter allows you to add more if you want. To do that, simply click the Add State button (the green plus button) (2):
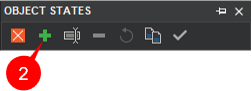
Or, you can right-click the Object States pane and select Add State.
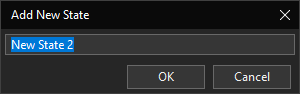
After that, the Add New State dialog appears. Rename the new state and click OK:
Edit States
You can edit any state by changing its appearances. For example, you can fill a state with an image. Besides, you can also change its size, position, shape type, text, color, border, etc.
To do that, follow these steps:
Step 1: In the Object States pane, select a state.
Step 2: Use one or more of the following options to edit states as you wish:
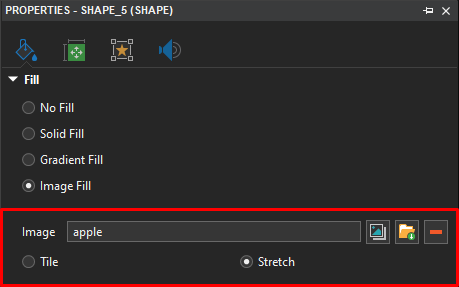
- Fill a state with an image: Open the Properties pane > Style and Effects tab > Fill > Image Fill > import an image from your project or from your computer:
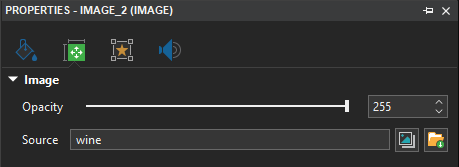
- If your object is an image, you can change the state of the image by using another image. To do that, open the Properties pane > Size & Properties tab > Image > import an image from your project or from your computer:
- Change size and position: Open the Properties pane > Size & Properties tab > Transform > edit properties in this section.
- Customize Fill, Line, and Shadow: Open the Properties pane > Style and Effects tab > edit properties in this tab.
- Edit text: Open the Home tab to edit font name, font size, etc. Or, open the Format tab and select one from Quick Styles section.
- Change shape type: Open the Format tab > Change Shape > choose a shape from the list.
Manage States
Except for the command to add new states (2), ActivePresenter also offers you some other commands to manage states conveniently.
You can see these commands in the toolbar of the Object States pane. Or, you can right-click a state in the pane, then these commands appear in the context menu:
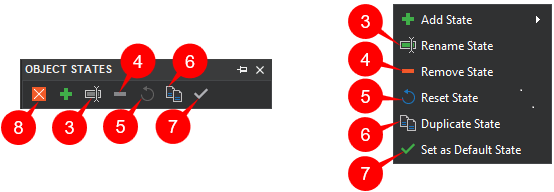
- (3) Rename the selected state.
- (4) Delete the selected state.
- (5) Reset the selected state to its original appearance.
- (6) Create a copy of the selected state.
- (7) Set the selected state as the default state.
- (8) Exit the editing mode after adding new states, managing or customizing them.
Note: These commands are not applicable to the Normal state.
Besides, keep in mind that ActivePresenter allows you to retain state on slide revisit. You can find the Retain State button in the Interactivity tab of the Properties pane. When this checkbox is selected, objects will retain their last state when learners visit a slide.
Use Actions to Trigger States
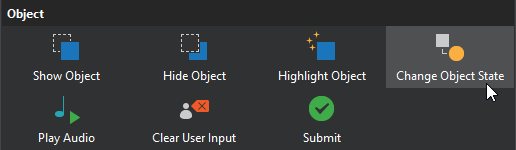
Normally, you will add Change Object State action to an event to trigger a state. This action will help to change the appearance of an object based on user interaction with the content:
For more details about how to add an action to an event, see Work with Events – Actions.
Now, you’ve known all techniques to change states of an object. Download ActivePresenter right now and test this amazing feature.
Related Articles: