Besides Slide Masters, Feedback Masters are now ready for use in ActivePresenter 7. In general, Feedback Masters enable you to create Feedback Layers which provide users with useful feedbacks after they submit their answers. With this feature, you can easily show and edit complex feedbacks. They also contain buttons allowing users to decide what to do next. Plus, you can edit the text of the layers, add more objects like buttons or images to give users more information as you wish. Sound interesting? So, keep reading to explore more useful information.
This tutorial covers:
Overview of Feedback Layers
Basically, a feedback layer is almost the same as a slide layout. So, if you want to work with it, you have to open the Feedback Master View. Initially, open the View tab > Feedback Master.

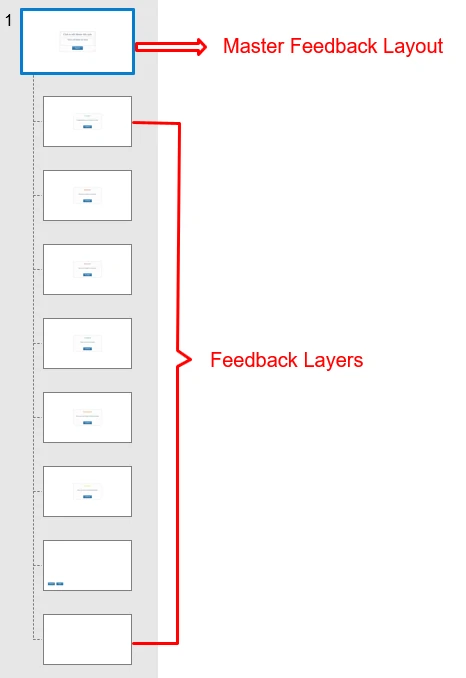
Then, the Feedback Master will appear in the left pane. By default, a feedback master includes 1 Master Feedback Layout and 8 built-in Feedback Layers.
- Correct Feedback: Used in the On Correct event to let users know their answers are correct.
- Incorrect Feedback: Used in the On Incorrect event if the current attempt is the last attempt, letting users know their answer is not correct.
- Try Again Feedback: Used in On Incorrect event if the current attempt is not the last attempt. The message lets users know their answer is not correct and they can try again.
- Complete Feedback: Used in the On Complete event to let users know they have completed the answer.
- Incomplete Feedback: Used in the On Incomplete event. The message lets users know they have to complete answering the task before moving to the next one.
- Timeout Feedback: Used in Timeout event. The message appears to let users know the time to do the task is run out.
- Review Feedback: This feedback layer is used in the review mode. It is triggered in the OnLoad event of the slide. You have to use the apReviewMode variable to check if the presentation is in the review mode or not. There are two buttons (Previous and Next) in this layer. They let users navigate the presentation when reviewing a course.
Take a look at How to Review A Course in ActivePresenter 7 for more information.
Using Feedback Layers
On the whole, ActivePresenter uses Feedback Layers to display the feedback for each answer of users.
In the previous version of ActivePresenter, the default action of the On Correct, On Incorrect, On Complete, On Incomplete and On Timeout event shows a corresponding feedback message. For example, when users answer a question correctly, a correct message appears. However, in this version, those events have the default action which is Show Feedback Layer. For example, the default action of the On Correct event is Show Correct Feedback Layer.
When choosing Show Feedback Layer, you will have two options:
- Hide After: allows hiding the feedback layer after a period of time that you set.
- Blocking: allows blocking the main timeline when the feedback layer is showing.
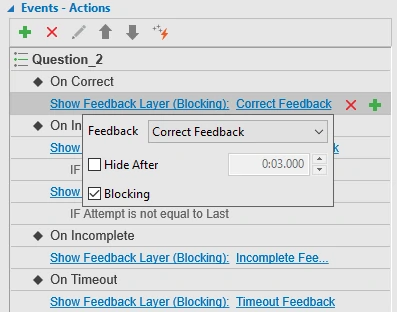
So, if your answer is correct, it allows showing the correct feedback. Now, see the below image for easy understanding:
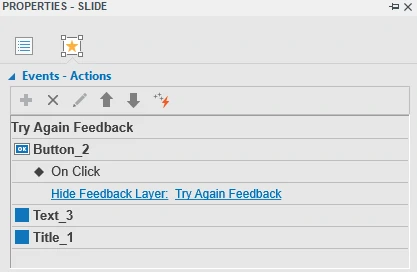
Besides, there is another action that is used directly from the action gallery: Hide Feedback Layer action. It allows hiding a feedback layer. For example, if your answer is incorrect and you are allowed to try again, the feedback will be hidden at once after clicking Try Again button.
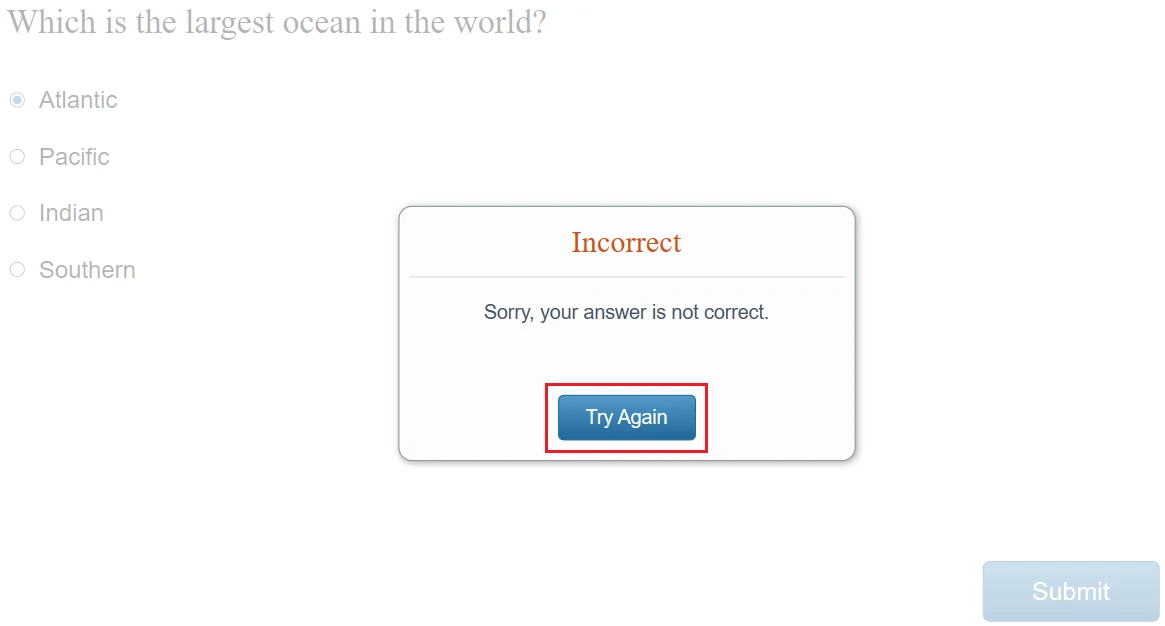
That’s because Hide Feedback Layer action is already set up in the Try Again Feedback Layer. This below picture will show you more clearly:
Customizing Feedback Layers
Basically, Feedback Layers are inherited from Feedback Master Layout. Thus, it is very convenient to add or remove contents.
Adding Content
Beside showing feedbacks, you may add more contents to provide users with necessary information about the correct answer. For example, you want to add not only a picture but also a text. So, follow these steps:
Step 1: Open the Feedback Master View > Feedback Master Layout.
Step 2: To add a picture, do either way:
- Go to the Annotations tab > Insert Image.
- Go to the Properties pane > Background Fill > Image Fill and select one picture from your project or computer.
Step 3: To add text, go to the Annotations tab > Insert Text Caption. Next, add the information you want.
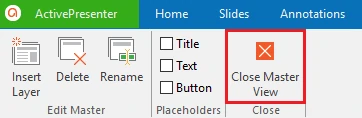
Step 4: Click Close Master View in the Feedback Master tab.
Step 5: Click HTML5 Preview to see the result:
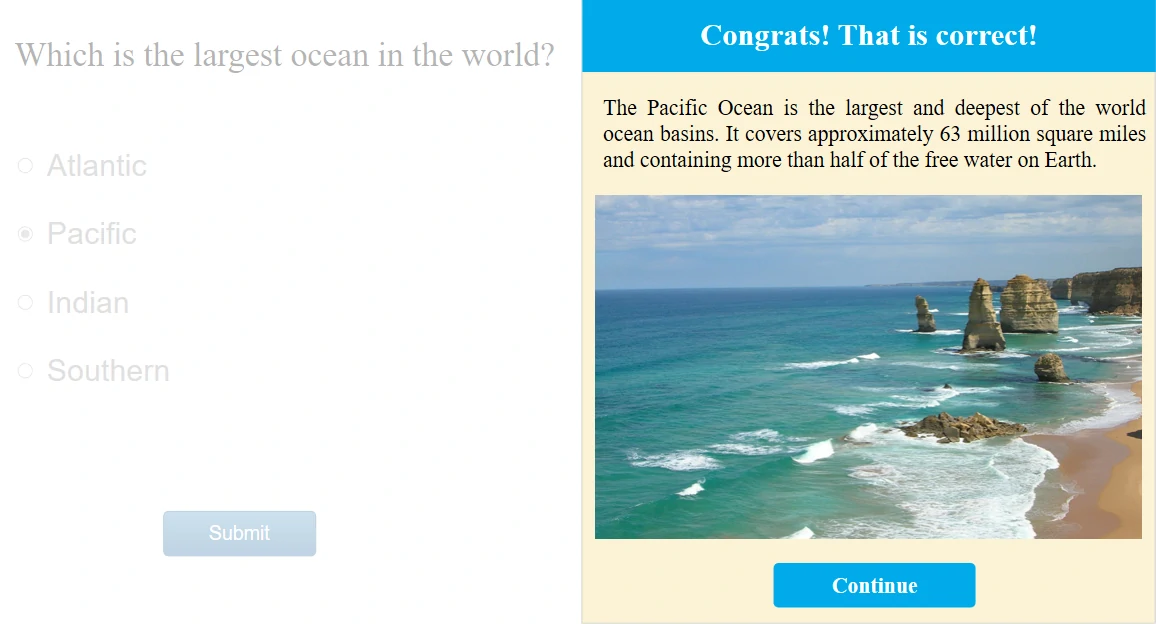
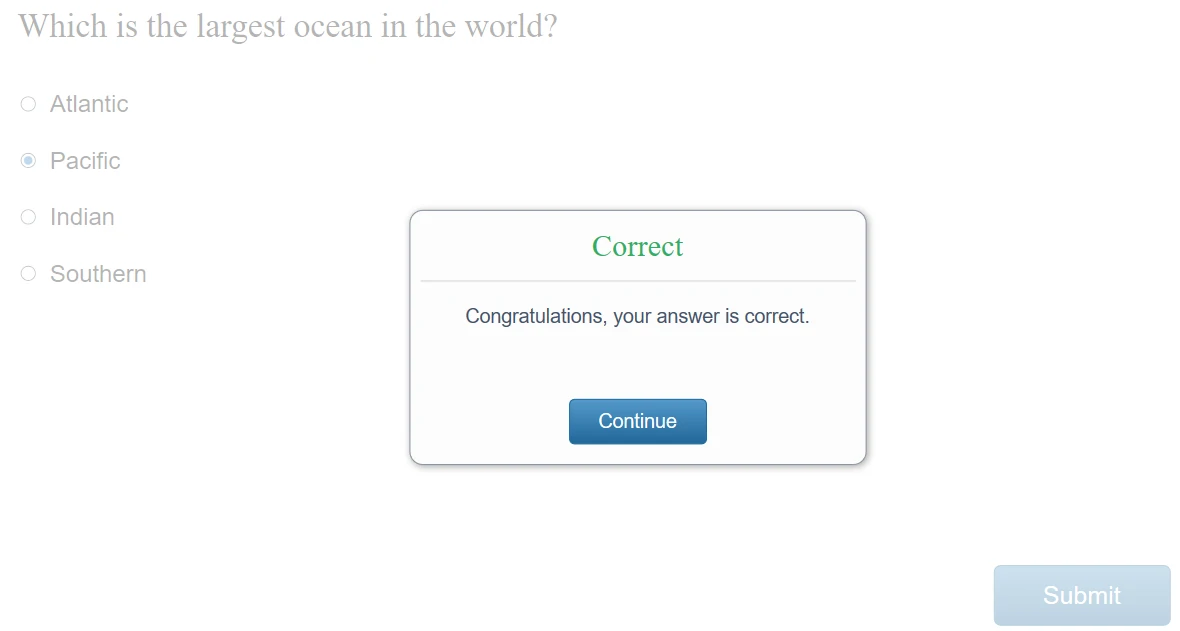
After answering correctly, the picture with information about the Pacific Ocean presents on your screen.
Styling
In addition, you can make your feedback layers livelier as you wish by using animations, adding events, styling feedback information or even more. Bear in mind that every change in the layout will be applied to all the corresponding layers.
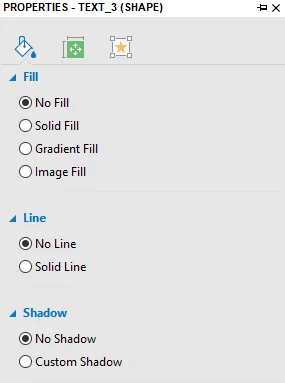
- To change the background style, open the Feedback Master View. Then, select the layout on the Canvas > Style & Effects tab on the Properties pane > change the Fill, Line and Shadow freely.
- To design the button of the layout, select the button > Format tab > change the shape, styles, etc., for the button.

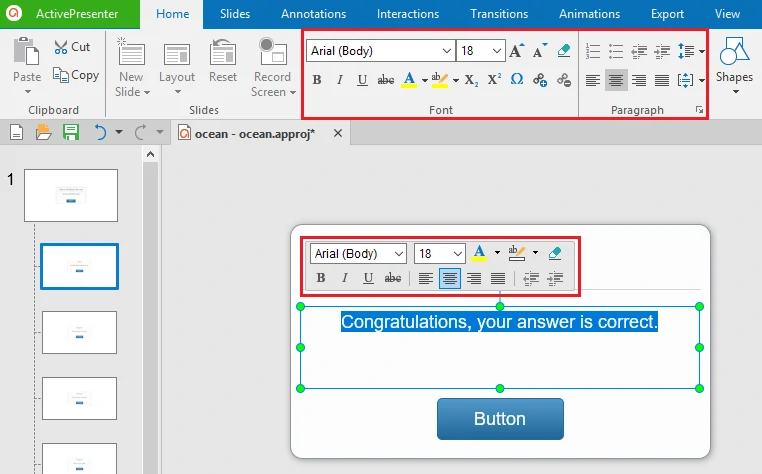
- To change the text font, size and color, select the text. Next, use the button and commands on the Home tab or the toolbar that appears.
Note that you still set up Show Correct Feedback Layer for question. Now, close the Feedback Master View, click HTML5 Preview to see the result:
Adding or Removing
ActivePresenter allows adding many new feedback layers as you wish. To insert an additional layer into a feedback master, do either of the followings:
- In the Feedback Master tab > Insert Layer.
- Right-click any thumbnail in the left pane > Insert Layer.
Note: Each slide master has only one feedback master. You cannot add more feedback master to it. You can only add more layers.
If there are any layers that you do not want to use, just remove them. However, you cannot delete the feedback layout.
To remove layers, do any of the followings:
- In the Feedback Master tab > Delete.
- Right-click on any layer > Delete Layer.
- Press the DELETE key.
In short, that’s all I want to share about using Feedback Layers in ActivePresenter 7. Make use of this feature to make your course more interesting. And contact us if you need any help.