Creating New Blank Projects
A blank project contains blank slides where you can add contents such as images, video/audio clips, and slides from ActivePresenter projects or PowerPoint presentations, etc.
Let’s get to know how to create a first blank project in this brief article.
Creating Blank Projects
Creating Blank Projects from Default Theme
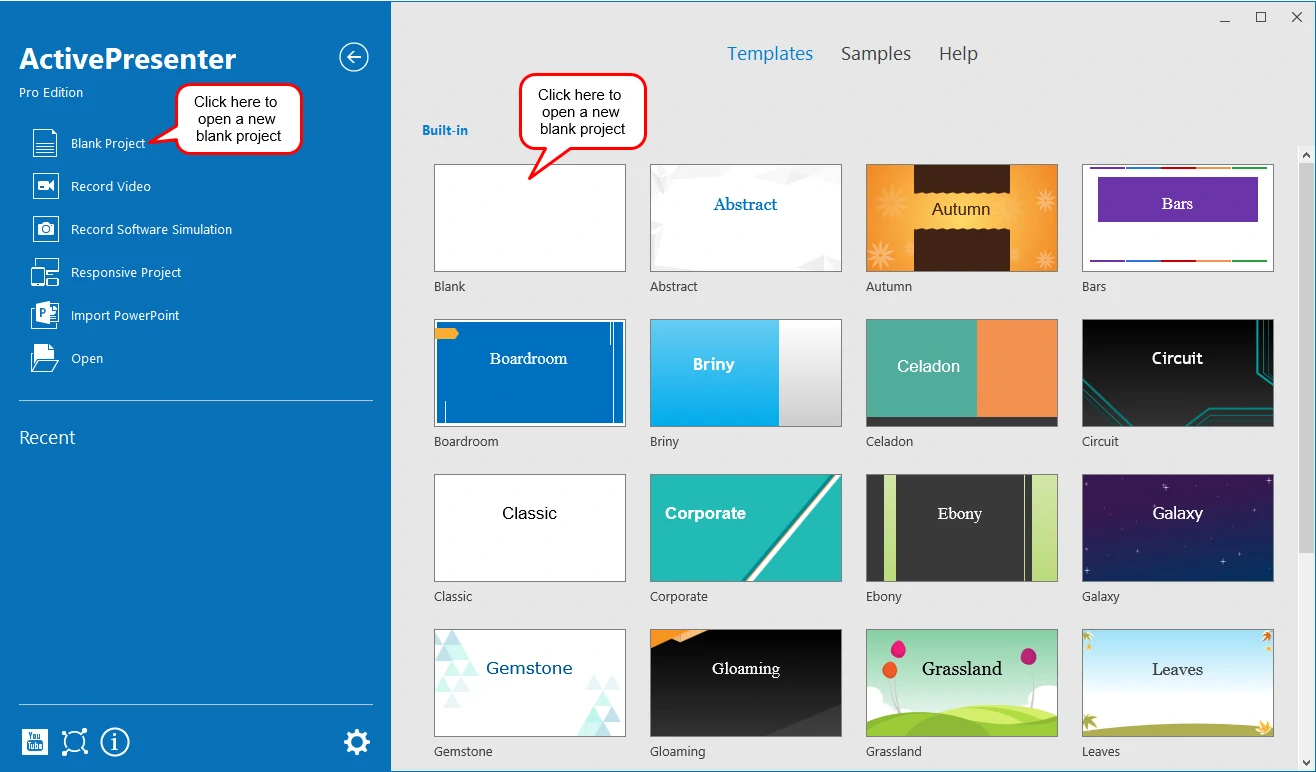
When you first launch the app, you will be presented with the Start Page. To start your first project, you can either click Blank Project in the left pane or click Blank in the built-in templates.
Alternatively, in the currently opening project:
Click the Create blank project button on the Quick Access Toolbar: 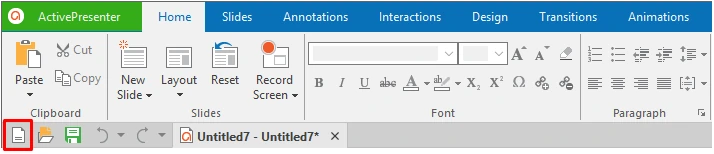 Or, take the following steps:
Step 1: Click the ActivePresenter button (1).
Step 2: Click Blank Project (2).  ActivePresenter will launch a new project with a blank slide.
By default, the new project will have one blank slide with the slide layout corresponding to the theme.
Creating Blank Slides from other Themes
ActivePresenter 7 provides many themes that save you a lot of time in creating contents and ensure the consistency of the workflow.
If you want to create a new blank project with any theme, in the Template tab of the Start Page, do one of the following:
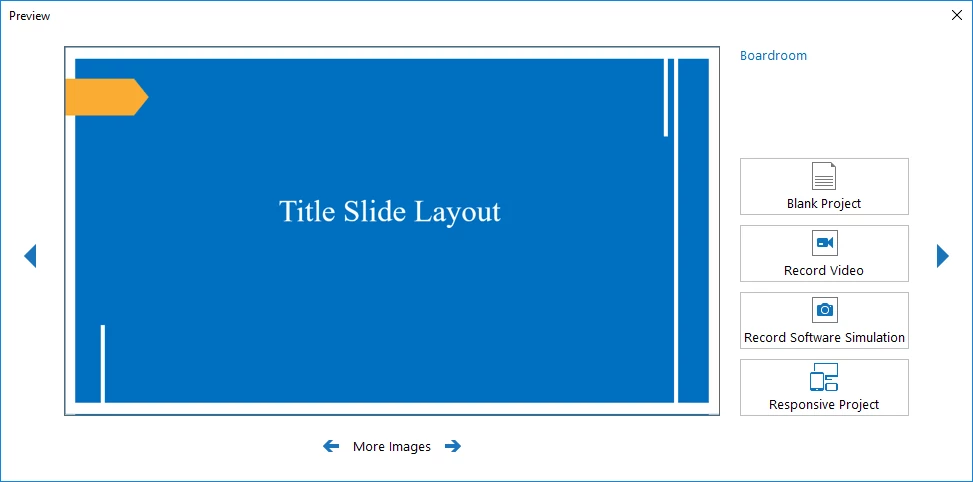
- Click any of the themes and select Blank Project from the pop-up dialog.
- Right-click any of the themes and select Blank Projects from the context menu.
Inserting More Slides into Projects
You can add more slides to your project as follows:
Step 1: Open the Home tab (3) or Slide tab.
Step 2: Click New Slide (4). 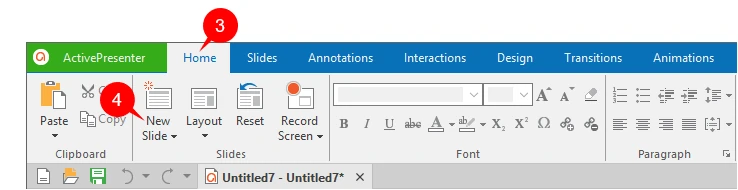 After that, a new slide will be inserted after the slide that you are selecting, having the default layout.
If you want to insert a new slide with a different layout, do the following:
Step 1: Click the drop-down arrow of the New Slide button (4).
Step 2: Select the layout from the drop-down list (5). 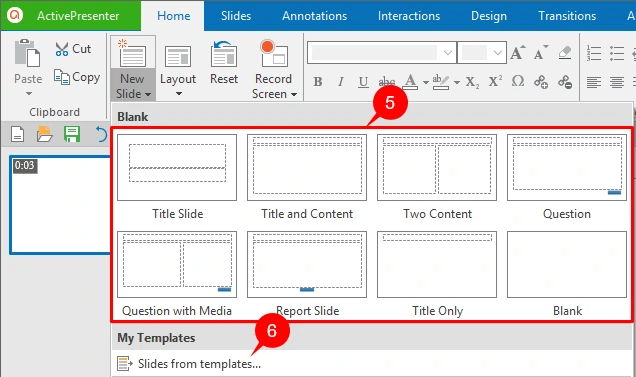
Inserting Slides from Templates
To insert slides from templates:
Step 1: Click the drop-down arrow of the New Slide button (4).
Step 2: Click Slides from templates… (6).
Refer to Inserting Slides from Templates for more details.
Changing Slide Layout
To change the slide layout, take the following steps:
Step 1: Select the slides that you want to change the layout. Hold CTRL while clicking to select multiple slides.
Step 2: Open the Home tab or Slide tab.
Step 3: Click the Layout button (7).
Step 4: Select the layout that you want to have (8). 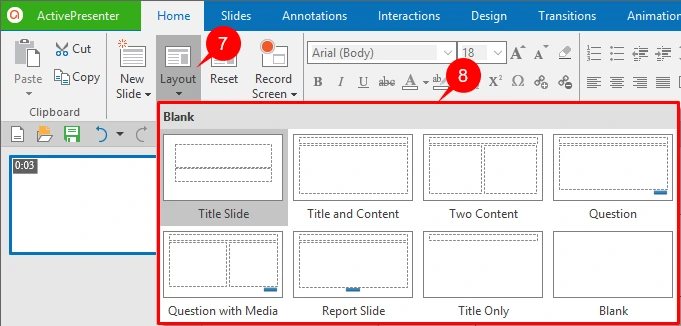
Changing Slide Size
After creating a blank project with a default size, you can change the size if needed.
To do that, take the following steps:
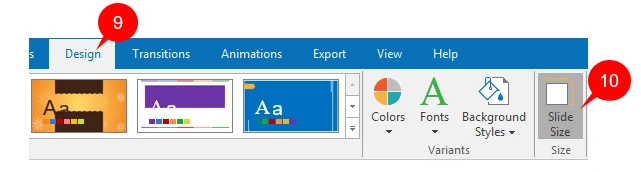
Step 1: Open the Design tab (9).
Step 2: Click Slide Size (10).
After that, the Change Project Size dialog will pop up, do one of the following:
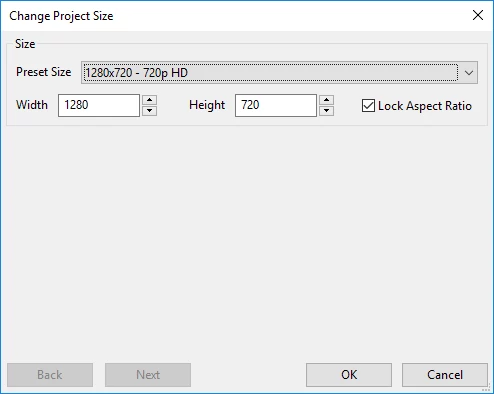
- Select one of the preset sizes from the Preset Size list.
- Enter values in the Width and Height spin box.
- Check the Lock Aspect Ratio check box if you want to keep the ratio between the width and the height of the slide size.
So, it’s easy to create a blank project, isn’t it? Let’s start to have your first project today and prepare for the next professional projects with ActivePresenter 7.
Feel free to visit our blog for more useful articles and contact us if you need more help.