When working with a range of elements in Saola Animate, have you ever encountered any difficulty? For example, make elements the same size or align them evenly. If yes, this tutorial is for you. Now, let’s see how to resize and align elements in Saola Animate 3.
This tutorial has two main parts:
Resize Elements
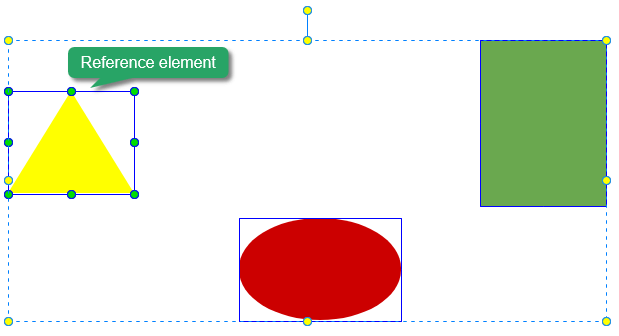
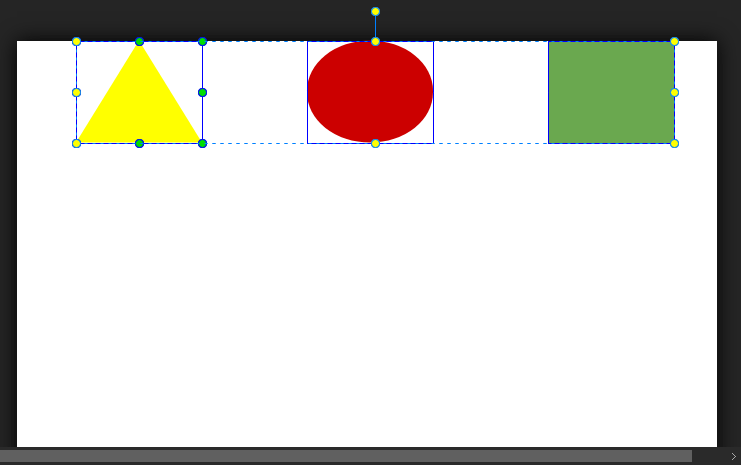
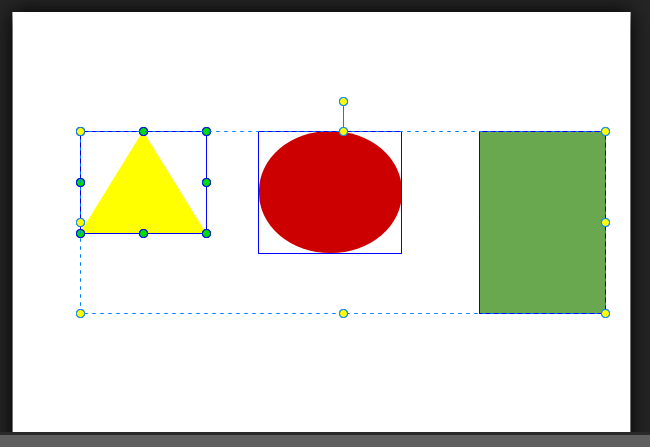
Saola Animate 3 provides users with three sizing options to resize elements. It allows making them the same width, height, or both. To get it done, you can resize elements on the Canvas to the reference element. The reference element is the last selected one and is defined by the green handles, while others have blue boundaries.
To resize elements, follow the below steps:
Step 1: Select all elements you want to resize and define the reference element.
Note: You can click any selected element without holding down CTRL to define it as the reference.
Step 2: Do one of the following:
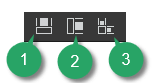
- Choose one of the three sizing options on the toolbar: Make Same Width (1), Make Same Height (2), or Make Same Size (3).
- Right-click on the Canvas > Arrange > Size > choose one option.
- Click the Edit menu > Size > choose one option.

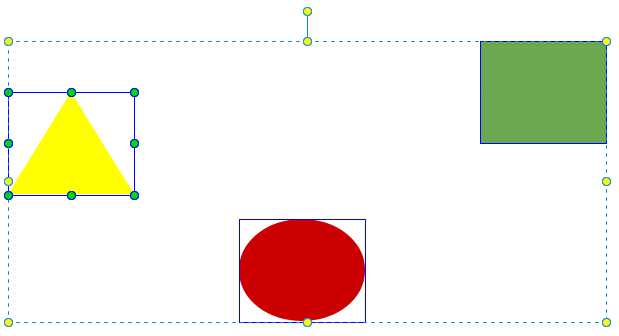
For example, select the Make Same Size (3) button to make all selected elements have the same width and height as the reference. After that, you will get this result:
Besides, you can select:
- Make Same Width (1) to make all selected elements the same width as the reference.
- Make Same Height (2) to make all selected elements the same height as the reference.
Align Elements
Saola Animate 3 also offers several ways to align elements automatically and precisely.
Align Elements Using Canvas Snapping
Canvas snapping helps to snap an element to the center or edges of others or the Canvas. When you drag it to the vicinity of another or the Canvas, you will see one or two red lines appear.
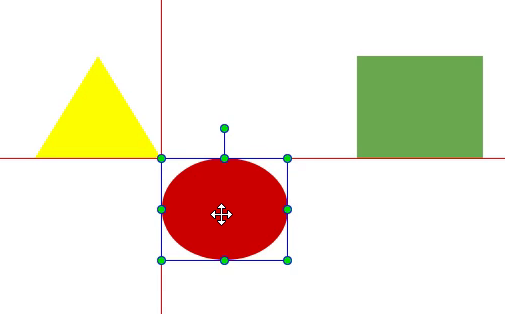
The Canvas snapping feature is on by default. To turn it off, click the View menu > Canvas Snapping. To temporarily disable it, hold down CTRL when moving or resizing elements.
Align Elements Using Alignment Tools
Apart from using Canvas snapping, you can use various tools to align and distribute elements with an anchor. The anchor can be a selected element, their parent, or the bounding rectangle of all of them.

To align or distribute elements, do as follows:
Step 1: Select all elements you want to align or distribute and define the anchor.
Step 2: Do one of the following:
- Choose one desired command on the toolbar.
- Right-click on the Canvas > Arrange > Alignment > choose one option.
- Click the Edit menu > Alignment > choose one option.
Align to Parent
This option is selected by default. With this option on, alignment tools will align all selected elements to their parent. In case selected elements are top-level ones, the parent is the scene. It means that all selected elements will align to the center or edges of the scene.
Align Top
When you turn this option off, alignment tools will align elements with the reference element. Meanwhile, distribution and spacing tools will distribute and space elements evenly across the bounding rectangle of all selected elements.
Align Top
Flexible Layout
The Flexible Layout option allows you to create a percentage-based alignment. When the parent size changes, this will keep the layout unchanged. It is useful when creating a responsive document.
Note: This option is only enabled when the Align to Parent option is selected.
See Use Flexible Layout for more information.
That’s how to resize and align elements in Saola Animate 3. Try it and let us know if you need help.
Related articles: