Grouping multiple elements as a single one lets you work faster and easier. For example, you can move the whole group to another position quickly instead of moving each separate element manually without changing its relative distance to each other. Being considered as a normal element, a group lets you animate its properties or add events – actions to it. This tutorial will walk through the way to group elements and how to work with groups.
This tutorial covers:
Group Elements
To group elements, do as follows:
Step 1: Select elements you want to group.
Step 2: Press CTRL+G, or right-click the elements > Group > Group.

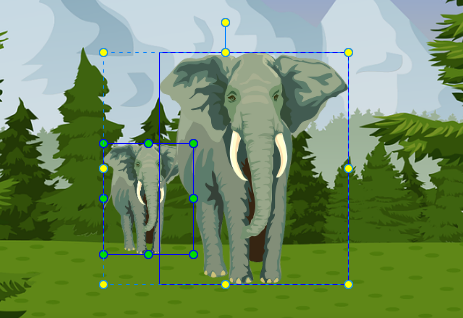
Now, on the Canvas, two elephant elements are grouped into one, surrounded by a single bounding rectangle. Therefore, all their moving animations will be converted to a new coordinate system of the new parent.
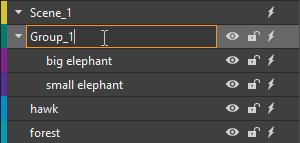
Right after that, the newly created group appears in the Timeline and Elements pane with a default name. You can rename it to identify and work with it easily. To do that, double-click its name, then enter a new name. In addition, all child elements are listed under and at the next indent level compared to their group. Click the triangle buttons to collapse or expand groups.
Note: After you make a group, you can still edit the child elements separately as normal without breaking and affecting the group. On the Canvas, select the group first, then click the child element to start editing it. Or, you can click the child element name in the Timeline and Elements panes to select it.
Work with Group
After grouping elements, you can manipulate the existing group like adding more elements to it, or removing elements from it, or ungrouping, etc. Keep reading to know how to do that.
Add Elements to Group
It’s simple to add more elements to an existing group without nesting. Follow these steps:
Step1: Select the target group and elements you want to add to that group.
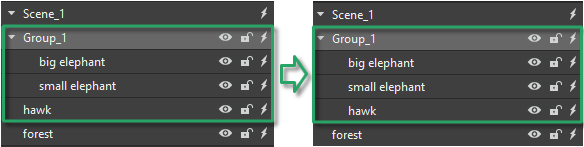
Step 2: Right-click and select Group > Add to Group. The selected elements will become the child of the target group like this:
Remove Elements from Group
Beside adding elements to a group, you can remove elements out of a group.
Step 1: Select one or multiple elements which you want to remove.
Step 2: Right-click and select Group > Remove from Group. The selected elements will be out of that group.
Layout Group
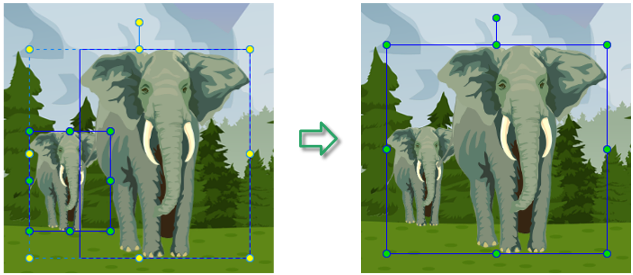
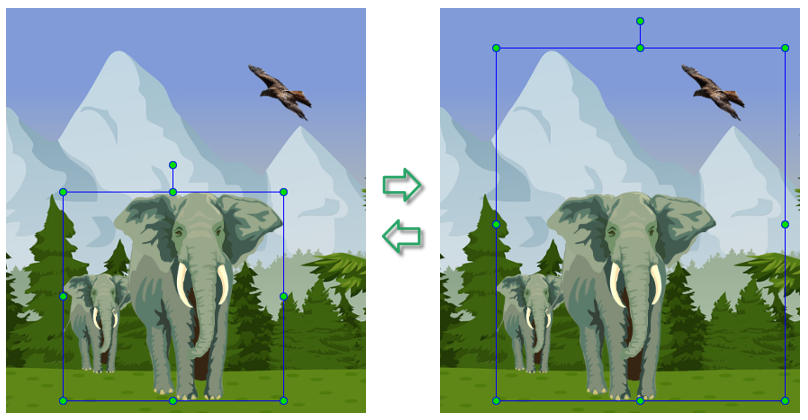
After adding/ removing elements to/ out of the group, a group boundary may not fit its children bounding rectangle. At that time, you can use the Layout Group function to adjust a group position and size to fit its children.
To get it done, take the following steps:
Step 1: Select your desired groups.
Step 2: Right-click and select Group > Layout Group.
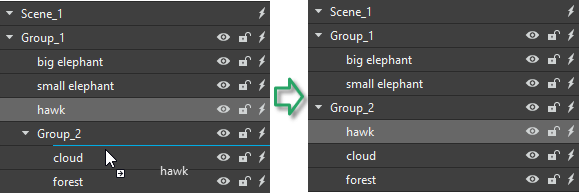
Change Group by Drag-n-Drop
Sometimes, you want to move an element from a group to another group. In the Timeline or Elements pane, just drag the desired element to a new position that you want until a blue line appears, and drop it. The selected element will become the child of another group.
Ungroup Elements
In case that you no longer need a group and want to break it apart to work with each element individually. You can ungroup it in a second. Select a group and press CTRL+SHIFT+G, or right-click the group > Ungroup. The group will be broken apart into separate child elements.
That’s all about groups and working with groups in Saola Animate 3. If you need any assistance, feel free to ask in our user community.
See also: