In recording screen, an Active Window is a top-level window in the recorded application that is active at a time. With the Active Window feature, ActivePresenter can automatically detect the area that you want to record and save it in the recorded slide. This feature comes in handy when you create video demonstrations or software simulations, in which there are specified windows that you want to capture or export (e.g. a confirmation dialog).
View Active Window
To view the Active Window, do one of the following:
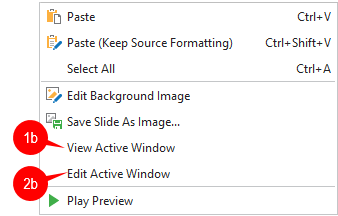
- Open the View tab and click View Active Window (1a).

- Right-click anywhere on the Canvas and select View Active Window (1b).
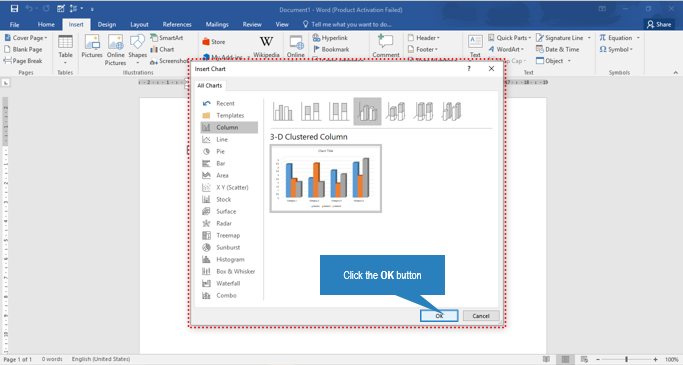
The screenshot below shows a captured slide that captures Microsoft Word. The Active Window area is shown in a red dashed border.
Tip: When recording software simulations, you can place the annotations that are automatically added during the capture inside the Active Window area. See Working with Recording Settings Dialog for more information.
Edit Active Window
Sometimes, the Active Window area detected while capturing doesn’t fit the dialog/window. Don’t worry because you can modify this area. To edit the Active Window:
- Open the View tab and click Edit Active Window (2a).
- Or, right-click anywhere on the Canvas and select Edit Active Window (2b).
This enables the Edit Active Window tool, letting you resize the Active Window area by dragging its red dashed border.

Export Active Window Area Only
When it comes to exporting projects to images, Microsoft PowerPoint, or other document formats, you can choose to export the Active Window area only. The exported images, PowerPoint slides, or document files will only include the Active Window area and slide objects that you select to export.
To do that, take the following steps:
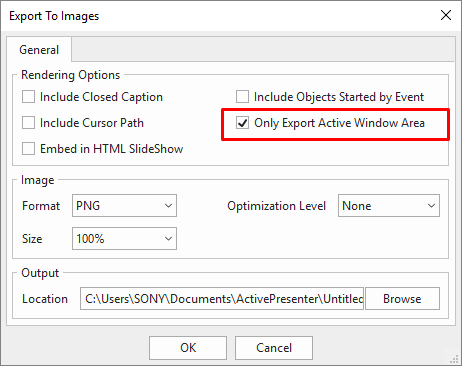
Step 1. Open the Export tab, select the format to which you want to export your project.
Step 2. In the corresponding dialog that pops up (e.g. Export to Images), select Only Export Active Window Area.
That’s all about the Active Window feature in ActivePresenter 8. Try it and feel free to email us if you need any support, or ask us in the online community.