When you insert interaction objects into your project, you may want to add more feedback messages to that object. Feedback messages are used to provide learners with information when they interact with an interaction object in the HTML5 output. In detail, these messages can let learners know how they are doing the task, whether their action is right or wrong, or give them instructions to do the task better.
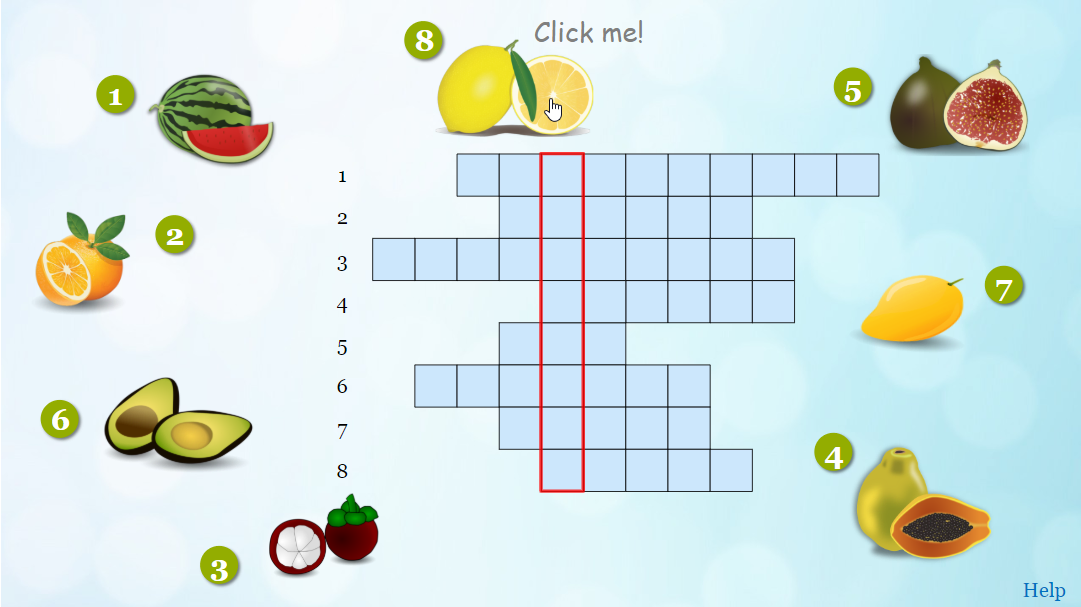
For example, in the above picture, when learners hover the mouse over a fruit, a hint message “Click me!” appears to guide learners what they have to do.
Now, let’s explore how to work with Feedback Messages in ActivePresenter 8.
Introduce 8 Types of Feedback Messages
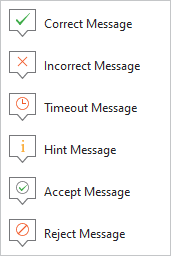
There are 8 types of feedback messages, which are listed below:
- Correct Message: Appear when user action is correct.
- Incorrect Message: Appear when user action is incorrect.
- Complete Message: Appear when users complete an action (This message only available in the Survey mode).
- Incomplete Message: Appear to let users know that they have to complete the task before they can perform the next action.
- Timeout Message: Show up when users don’t complete an action in the predefined time.
- Hint Message: Appear when users hover the mouse over an interaction object.
- Accept Message: Show up when any accepted Drag Source is dropped onto the Drop Area/Drop Target (This message is only available for Drop Area and Drop Target.)
- Reject Message: Show up when any rejected Drag Source is dropped onto the Drop Area/Drop Target (This message is only available for Drop Area and Drop Target.)
Note that each kind of interaction object will have different types of feedback messages. For example, you can only add Timeout and Hint messages to a Radio Button object. However, with a Mouse Click object, you can add four messages, including Correct, Incorrect, Timeout, and Hint.
Insert and Customize Feedback Messages
There are two ways to insert a feedback message:
- Select an interaction object. Then, open the Questions tab > Messages > select one message from the list that appears:
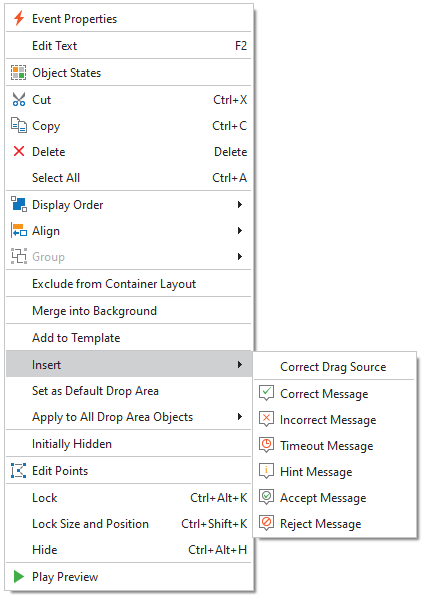
- Right-click on an interaction object > Insert > select one message from the list:
By following one of the above ways, you can insert a new feedback message into a slide.
As you can see, the new message appears on a slide with the default text and format:

ActivePresenter allows you to change this initial appearance as you wish.
For example, to edit text, simply click the message and enter your new text. Or, you can right-click the message and select Edit Text (or press F2 on your keyboard).
Besides, to change the default format, open the Format tab or the Style & Effects tab of the Properties pane. Here, you can freely change color, line, shadow, etc. of the message.
See this article to get more details.
Tip: In case your project has many slides. To make feedback messages look consistent on all slides, open Slide Master in the View tab, then insert and customize feedback messages in Slide Master.
Show Feedback Messages in the Output
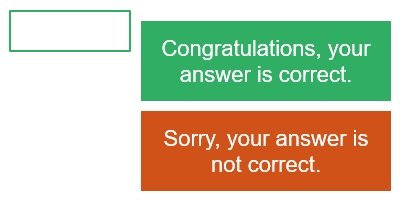
When you insert interaction objects like Mouse Click, Key Stroke, Text Entry, and Drop Area, these objects come with default feedback messages, including Correct Message and Incorrect Message:
These two feedback messages have the default settings for when to show it. That means these messages will be automatically shown when learners perform an action correctly or incorrectly.
Besides, when you add a new feedback message to an interaction object, ActivePresenter also automatically adds default events – actions to make the new message to be shown in the output.
However, you can customize events – actions to fit your needs.
See Work with Events – Actions in ActivePresenter 8 for more information.
That’s how to work with Feedback Messages in ActivePresenter. You can download ActivePresenter and test this amazing feature.