After finishing a course, learners may want to know their results or revisit what they have done to see which answers are right or wrong, the correct values, and the overall result of each interaction and slide. Fortunately, ActivePresenter 8 allows you to set up a Review Course function within several steps. To review a course, ActivePresenter requires you to use some particular actions and a variable which are:
How to Set Up a Review Course?
At the end of a course or presentation, it is necessary to insert a Report Slide to review learners’ performance. A report slide allows you to track and review all graded questions in a course. To do that, you need to go to the Home or Insert tab, click the down arrow on the New Slide button, and then select Report Slide.
The Report Slide will then display with three parts: a title, displayed parameters, and a Review Course button.

You can show or hide the default parameters by using the Report Display section in the Interactivity tab of the Properties pane. You can also add custom parameters by using text captions and variable references.
When you preview a course, click the Review Course button on the Report Slide. Your course will go back to the first slide to help you follow and review all graded questions. This only happens if you set up the Review Presentation action.
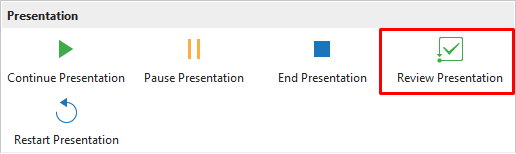
Review Presentation
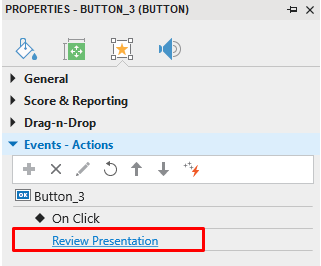
By default, the Review Course button has already contained a Review Presentation action.
You can see it by clicking the Review Course button and then navigating to the Interactivity tab of the Properties pane, Events – Actions section.
By clicking this button, learners will not only receive the course’s result but also go back to the first slide to see how they have done the task.
As aforementioned, when you review a course in ActivePresenter, it’ll show you the correct or incorrect answers, correct values, and overall result of each question. Additionally, you can click the previous or next button to track your answers. All the above functions can be active as we already set them to default in the On Load event of a slide. Let’s see how to use those functions to review a course in detail.
Show Responses
The Show Responses action has been set up in each question or interaction slide by default. Therefore, if you want to adjust these responses, please go back to the slides that contain such interactions. Use Slide Master if you want many related slides to have the same responses. As soon as clicking the Properties pane of each slide, it can be seen that the Show Responses action (1) is already set up from the action menu.

This action allows you to show responses for all graded interactions. You can determine which object will show which types of responses. Click All showing interactions combo box to see four default types of responses:
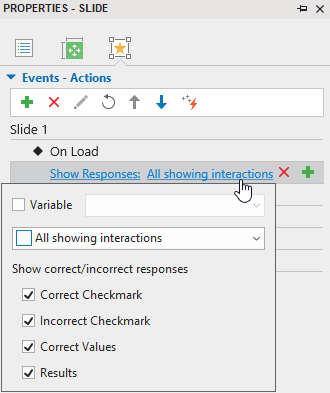
- Correct/ Incorrect Checkmark: Show correct/incorrect check marks next to correct/ incorrect answers.
- Correct Values: Show correct values next to interaction objects. Available for mouse clicks, key strokes, text boxes, fill in text entry, fill in text entries, fill in blanks, and essay questions.
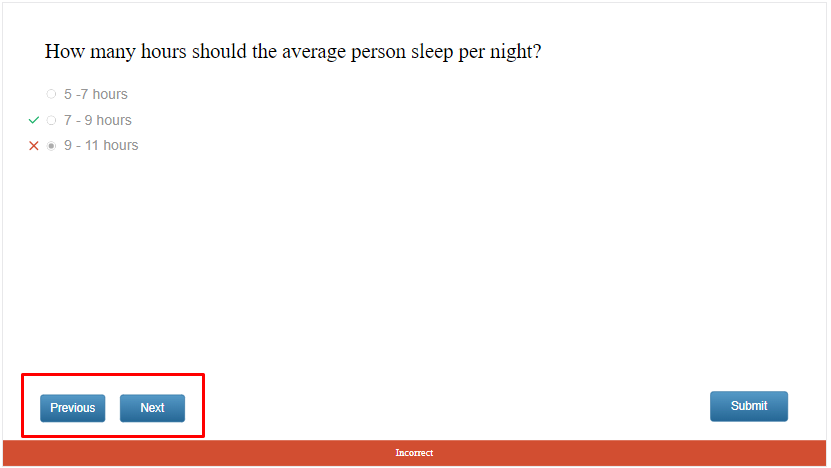
- Results: Show the overall result of the graded interaction at the bottom of a slide (correct or incorrect). If the slide has more than one graded interaction, all the results will overlap, so only the result of the last graded interaction can be seen. However, you can determine which result to be displayed as you wish. In common cases, there is only one graded interaction in a slide, so its result is treated as the overall result of the slide.
- Variable: Use variables to show responses.
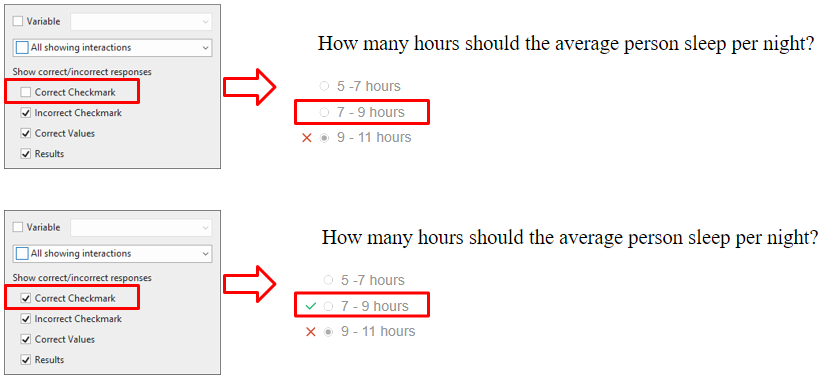
For example, if you clear the Correct Checkmark check box, then click the Review Course button, the correct checkmark will not appear if the answer is incorrect. On the contrary, the correct checkmark will appear if we select the Correct Checkmark check box. See the image below for more information.
Show Feedback Layer
Besides the Show Responses action, Show Feedback Layer action (2) is another action that needs to be added to help learners review their courses. ActivePresenter will show all correct/ incorrect responses for graded interaction on the review feedback layer.
By default, ActivePresenter displays the Review Feedback Layer. This feedback layer is used in the review mode. It is presented in the On Load event of the slide by default. To customize it, you will have to navigate to the Events-Actions section of each individual slide. You have to use the apReviewMode variable to check if the presentation is in the review mode or not. When selecting this feedback layer, there are two check boxes as shown below:
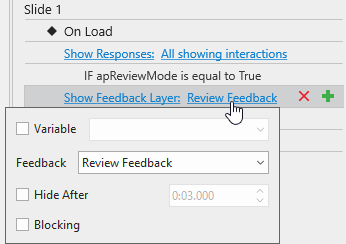
- Hide after: Hide the feedback layer after a period of time.
- Blocking: Block the main timeline until the feedback layer is hidden.
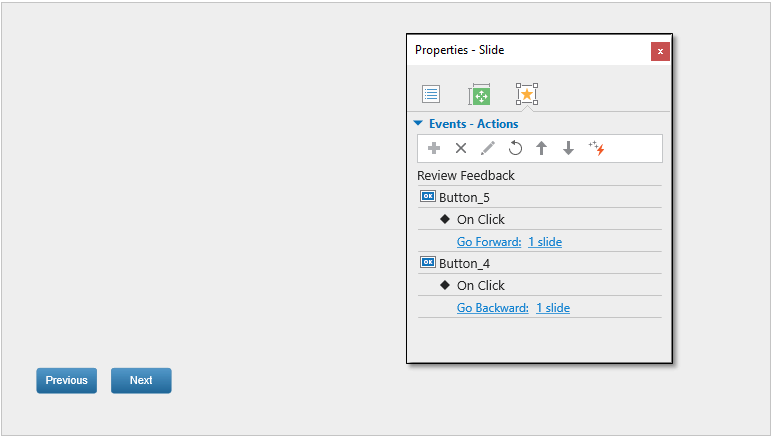
So, when reviewing a course, you will see two blue buttons (Previous and Next) in the left corner of the review screen allowing you to navigate the presentation. Click the Previous or Next button if you want to go backward and forward one slide, respectively.
These two buttons contain default actions. If you want to change these settings, click the Feedback Master in the View tab. A default Feedback Master includes at least one Master Layout and 8 built-in Feedback Layers appearing on the left side of the screen. You can easily find out the Review Feedback Layer with the default Previous and Next buttons.
Use apReviewMode Variable
Basically, the review mode is accessible from the Report Slide. Click Variables from the Home tab to see the apReviewMode variable. If the course is in the review mode, this variable value is equal to true, and vice versa.
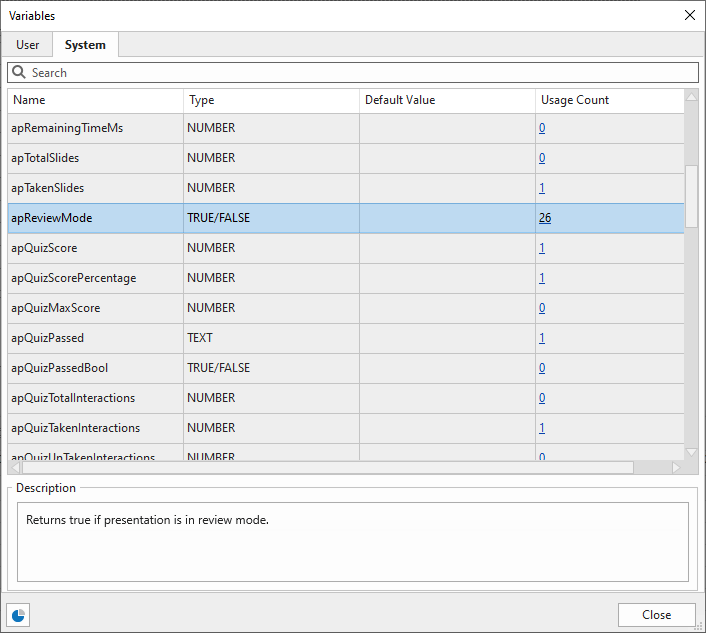
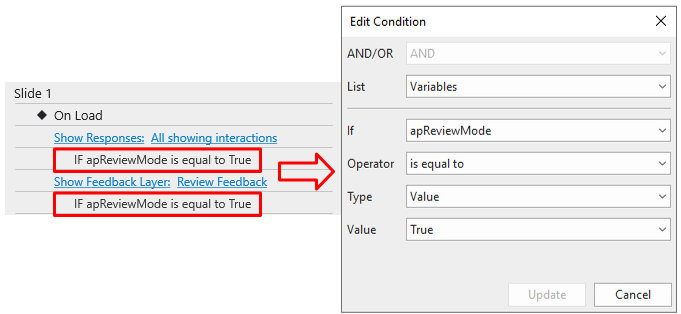
You can also check it in the condition of action from the Properties pane. Under each action is its condition (the variable value is equal to true).
How to Customize the Feedback Layer
In this section, we are guiding you on how to add feedback to each question slide to provide learners with more information. Note that you will need to have basic knowledge about Events – Actions, Slide Masters, and Object States to do this task.
Step 1: Open Slide Master view by going to the View tab, then click Slide Master.
Step 2: Insert a shape that will contain a feedback message afterward to the Question Layout. To do that, click Insert, then select a shape from the list.
Step 3: Hide the shape initially by right-clicking the shape, then choose Initially Hidden.
Step 4: Add states to the shape. Create the number of states as you want according to the number of questions. See the tutorial about the Object States to know more about how to add object states.
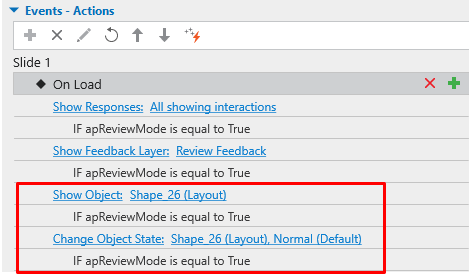
Step 5: Add events – actions to the question slide by clicking the slide, then navigate to the Events – Actions section in the Properties pane. After that, add 2 actions and their condition as in the image below:
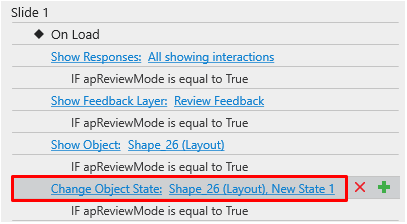
Step 6: Close the Slide Master view and adjust events – actions for each question slide in the normal view. For example, in the first question slide, I’ll adjust the Change Object State action from Normal (Default) to New State 1 as follows:
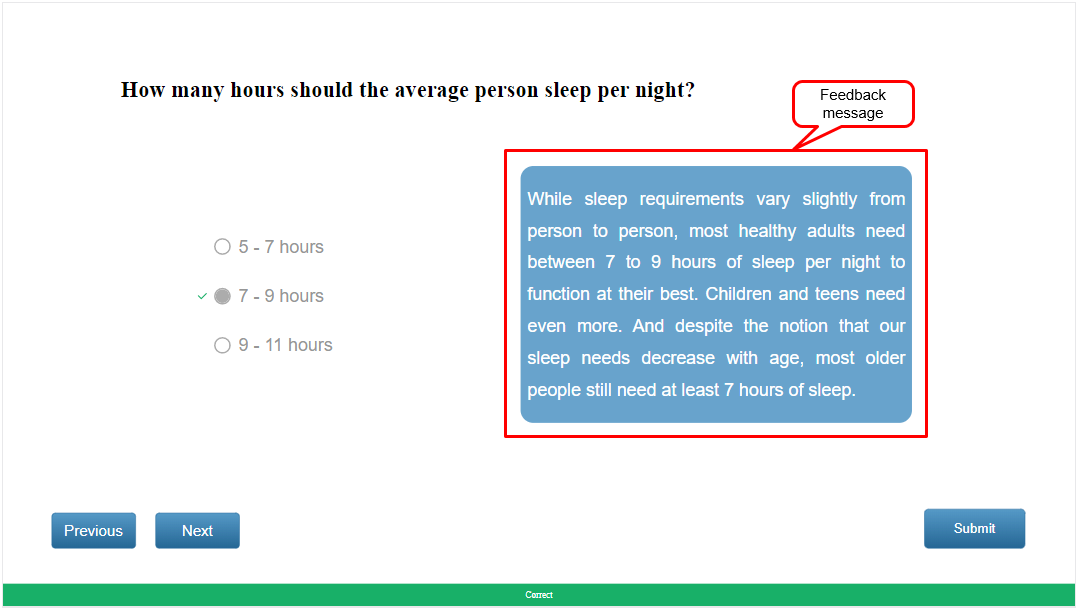
After that, click HTML5 Preview to see the result.
Now that you have learned how to set up a review course with ActivePresenter 8. Download the app and try these features to create your beautiful courses. Don’t hesitate to contact us if you need any help.
See Also: