Using Snapping Modes: Canvas Snapping and Timeline Snapping
To make you work easier, ActivePresenter provides two snap modes: canvas snapping and timeline snapping. These snap modes help you organize objects on the Canvas and the timeline. Let’s learn about them.
Canvas Snapping
ActivePresenter has a snap mode for the Canvas which helps out a lot when you move, resize, and rotate objects.
When canvas snapping is on, as soon as an object comes in the vicinity of another object or the Canvas, it will make a tiny jump to match the edge of each other. Vertical and/or horizontal orange lines will appear to visualize the alignment.

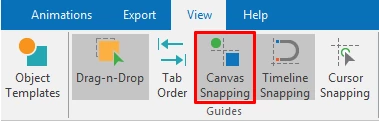
Canvas snapping is enabled by default. To disable it, click the View tab > Canvas Snapping. Temporarily disable canvas snapping by holding down CTRL when you drag or resize objects.
Tip: Take a look at Ordering and Aligning Objects.
Timeline Snapping
Timeline snapping allows you to easily line up objects in the timeline. For example, you can align objects to the Playhead, another object, or a point in time.
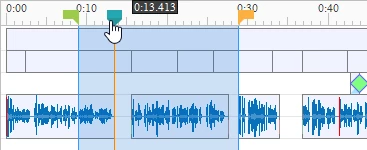
Similar to canvas snapping, the snap mode in the timeline uses a vertical orange line to visualize the alignment. This orange line appears as soon as a timeline item comes in the vicinity of one another.
Timeline snapping applies to the following timeline items:
- The Playhead.
- The start and end markers of a range.
- The start and end edges of the time bar of objects, slides, and effects.
- Any time bar’s markers such as the red vertical marker that appears after you cut an audio segment.
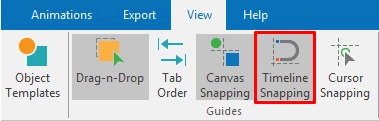
Timeline snapping is enabled by default. To disable it, click the View tab > Timeline Snapping. Temporarily disable timeline snapping by holding down CTRL when you drag an object’s time bar.
You’ve learned about two snap modes in ActivePresenter. Work smarter with these little helpers!