Inserting Text Captions and Highlights
Text caption and highlight are annotation objects in ActivePresenter 7. You can easily insert these objects in some clicks.
Insert a Text Caption
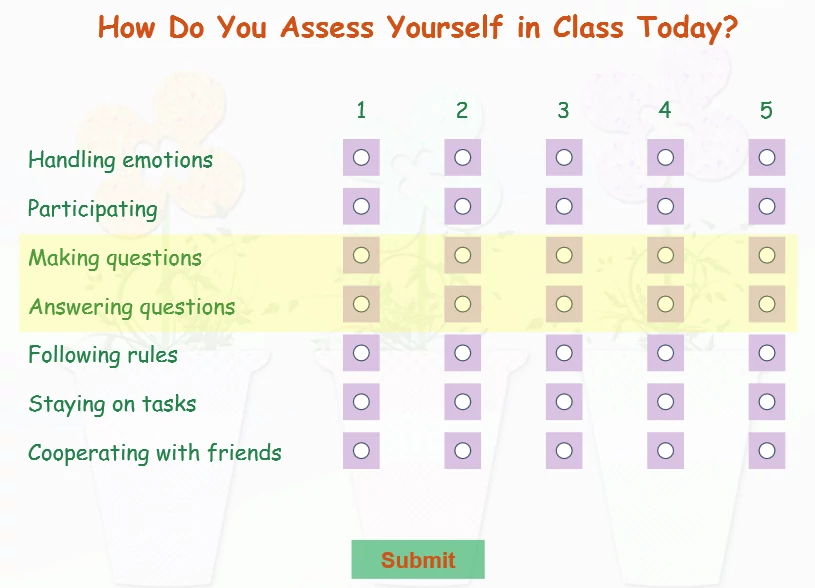
Text captions are useful to direct attention toward certain areas in a slide. Or, you can use them to give viewers extra information about important concepts. Here is an example of using text captions in an eLearning question.

In ActivePresenter, it’s easy to insert text captions using the Text Caption button. When you click this button, you have a text caption object as a type of annotation objects.
Steps to Insert a Text Caption
To insert a text caption, perform these steps:
Step 1: Do either of the following:
- In the Home tab > Text Caption
 .
. - In the Annotations tab > Text Caption.
Then, you see the default text caption like this: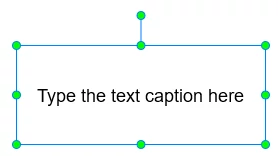
As might be seen, a text caption is a rectangle shape that can contain multi-line formatted text. In fact, it is a variant of the shape object, where only the text is given prominence. Meanwhile, the Fill and Line properties of the shape are muted. So, all things you do with shapes are also applied to text captions. That is, you can insert as many text captions as you want, style them, add animation effects, etc.
Step 2: Add text to the text caption. To do that, click the default text to open the inline text editor. Then, enter your desired text.
Step 3: (Optional) Style your text caption and insert animations into it. For more information, see Inserting and Styling a Shape and Animating Objects.
Note: When working with the app, you’ll see other objects, namely closed caption and text box. They are different concepts, so don’t confuse them with text caption.
- Closed caption is treated as subtitle. Use it to make your content more accessible for the deaf or hard-of-hearing audiences/learners.
- Text box is a type of interaction objects. Use it to create a blank field where learners can directly enter text.
Tip:
- ActivePresenter offers the automatic spell checking feature. But you can turn off it if you want. To do that, right-click the text caption and deselect Check Spelling.
- If you add multiple text captions in a slide, it’s useful to specify the order of these objects using the Tab Order feature. This way, learners can navigate between text captions using the TAB key in the HTML5 output.
Insert a Highlight
In ActivePresenter, a highlight object is a transparent, colored rectangle shape. You can place it over a certain area on a slide to draw attention to that area. Generally, highlight is also a variant of a shape object. But in that case, the text and border line are removed, and the background is made semi-transparent (50% transparency).
Below is an example of using a highlight in an eLearning question.
To insert a highlight, follow these steps:
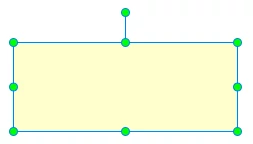
Step 1: In the Annotations tab > Highlight ![]() . Then, you see a default highlight object as screenshot below.
. Then, you see a default highlight object as screenshot below.
Step 2: (Optional) Adjust the formatting, color, transparency, and size of the highlight object. You can even add events – actions to it if you want. Perform these tasks as you normally do with a shape.
Now you’ve learn how to insert a text caption and highlight in ActivePresenter. Feel free to contact us if you need any further help.