An object style is a set of attributes including color, transparency, text, shadow, and line thickness. ActivePresenter editing features offers several different types of styles making it easy for you to customize objects according to your purposes. Check out this how-to guide below to find out more about using them in ActivePresenter.
Styling Objects from Properties Pane
Styles are available for all objects in ActivePresenter. But when you change from the style to another, it seems that some types of objects such as shapes and text captions are still the most affected. Therefore, an example of using the style for a shape is a good place to start.
To adjust attributes of it, take following steps:
Step 1: Select the shape that you want to modify the style.
Step 2: Go to the Properties pane.

- In the Fill (1) section, customize the fill color of the shape.
- In the Line (2) section, customize the outline of the shape.
- In the Text (3) section, customize the text placed in the shape.
ActivePresenter supports most of the basic text editing tools such as font, size, and alignment.
- In the Shadow (4) section, customize the shadow of the shape.
In addition, the Fill, Line, and Shadow tools (6) are also located in the Format tab (5).

Styling Objects from Format Tab
If you want to change the default style of the shape, take the steps below:
Step 1: Select your desired shape.
Step 2: Change the style.
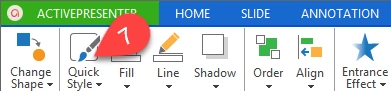
- Go to the Format tab, click Quick Style (7).
- Or click the Change Base Style button (10) the Base Style (9) section from the Properties pane (8).

After that, you can choose any style from the pop-up window for applying to the shape.
Creating New Object Styles
ActivePresent allows you to create your own style for your objects, do as followings
Step 1: Select the object you want to define a style.
Step 2: Click Change Base Style in the Base Style section (9) in the Properties pane.
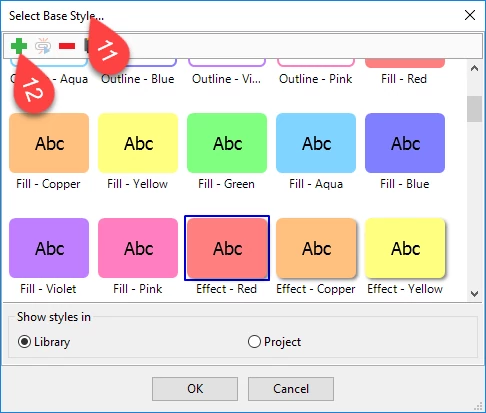
Step 3: Click the green cross-hair icon (12) in the Select Base Style window (11).
Step 4: Create your own style.
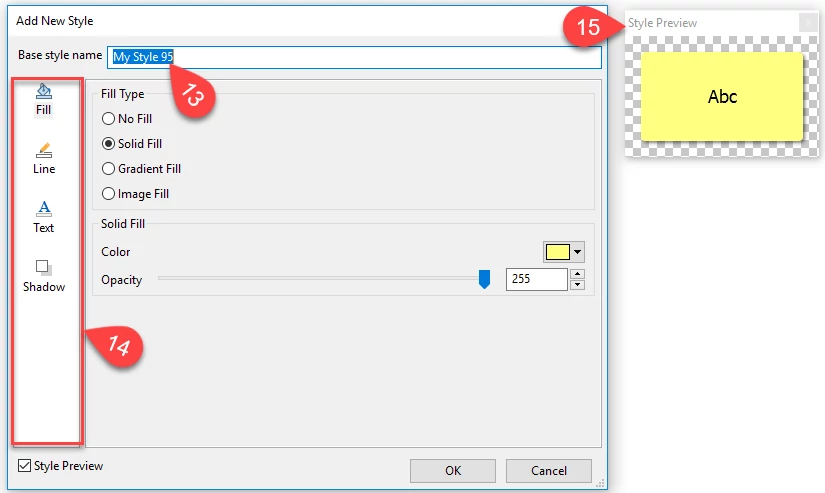
- Rename the style (13).
- Use the Fill, Line, Text and Shadow options (14).
Any change you make is also shown in the Style Preview screen. (15).
This is how to style objects in ActivePresenter. Let’s start to style any kind of object in your own way to make your projects look more customizable. Don’t hesitate to ask if you have any question.