ActivePresenter Online is a Moodle-based LMS customized by Atomi Systems Inc. This LMS provides you with 200MB of personal storage space and a maximum of 100MB for each course uploaded. You can use this site for free to upload and share the course content with learners. This tutorial will guide you on how to upload your courses, enroll students, and track learners’ results in ActivePresenter Online.

Register an Account on ActivePresenter Online
An ActivePresenter Online account gives you access to courses that you upload or you enroll in. To register an account, do the following steps:
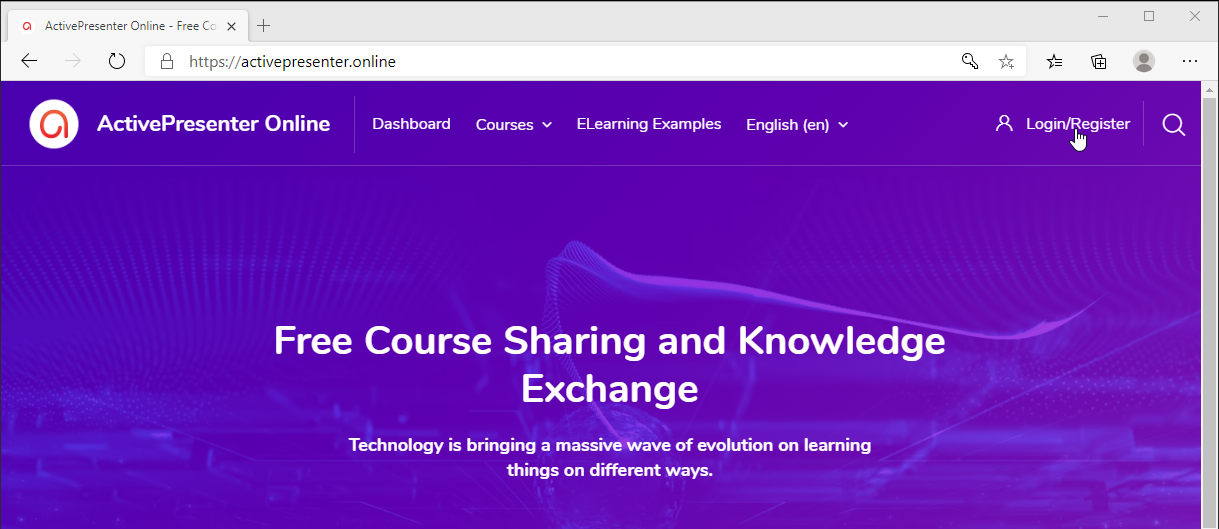
- Access the website: https://activepresenter.online/
- Click the Login/Register button at the top right corner of the site.
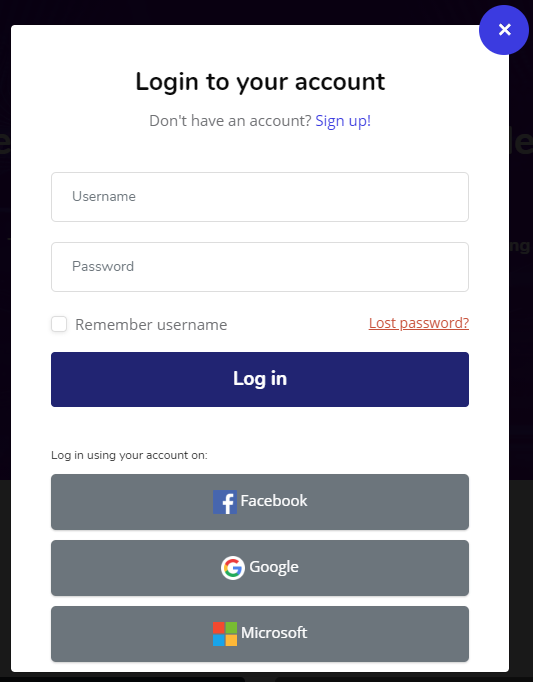
A dialog pops up asking you to enter your user name and password to log in your account. Click the Sign up button to start the registration.
- Enter the required information such as your username, password, and email address. Read on and agree to the Terms of Services and Privacy Policy to create an account. After that, a registration confirmation email will be sent to your email.
- Click or tap the link in the email you got when creating the account to finish registration.
Log in your Account
After successfully registering your account, you will easily log into your account by clicking the Log in button. Alternatively, you can also use your Facebook, Google, or Microsoft account to log in.
Upload your Courses to ActivePresenter Online
There are two ways for you to upload your courses to ActivePresenter Online. The first one is directly publishing from ActivePresenter software and the other one is uploading in ActivePresenter Online.
Publish Course from ActivePresenter Software to ActivePresenter Online
To publish your project from ActivePresenter to the ActivePresenter Online website, open the Export tab > click Publish LMS.

Then, a dialog pops up for you to log in to your ActivePresenter Online account. When publishing your course to LMS, if you choose “Make this course accessible to everyone”, it will be publicly uploaded. This means everyone can access the course without logging in. Otherwise, unchecking this option makes this course private. You need to invite your students or they need to enroll in the course themselves to access it.
Upload your Course in ActivePresenter Online
After logging in to your account, you can also upload your course directly from the ActivePresenter Online website as follows:
- In the Courses section, click Create A New Course.
- Enter the necessary information about the course, and upload the SCORM package into the file section.
- Click Save and display at the end of the website to finish.
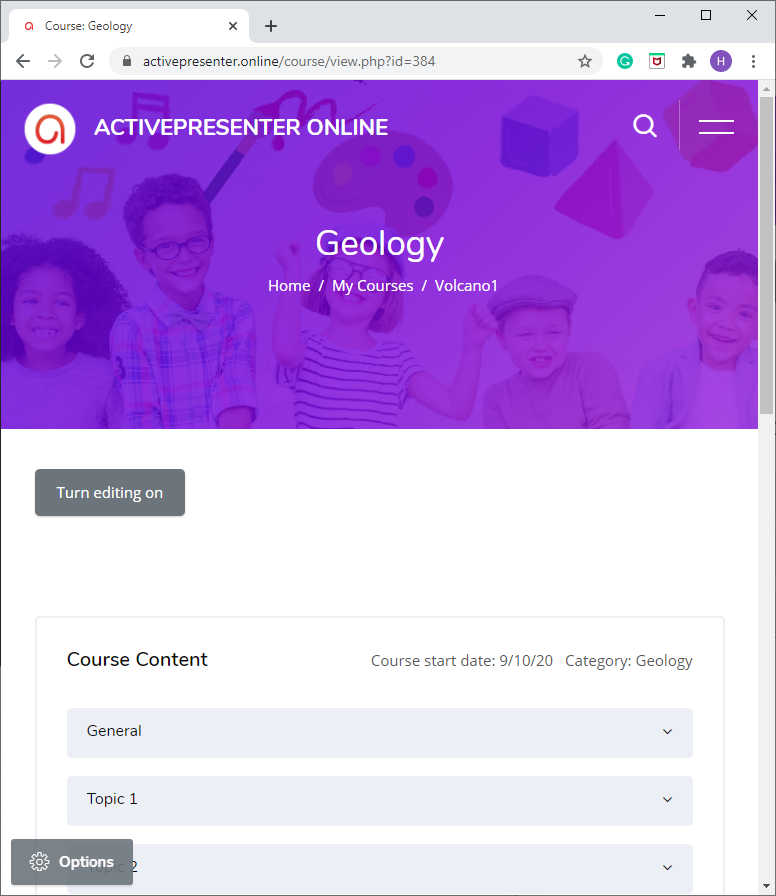
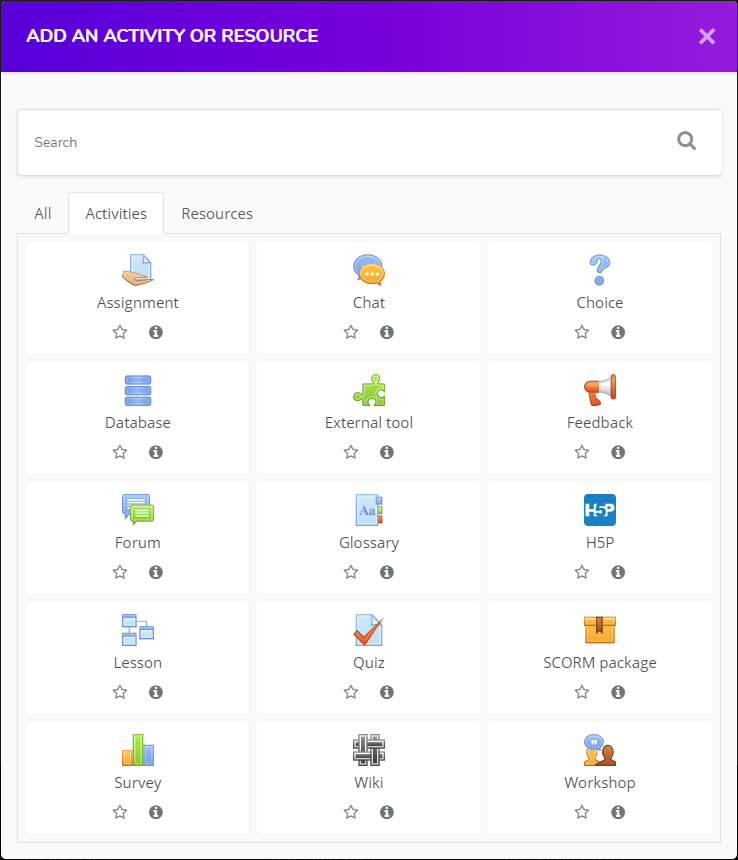
4. Click the Turn editing on button, in the General section, click Add an activity or resource. Then, the following dialog will appear for you to choose any resources or activities to add. For example, I upload a SCORM package by clicking on the SCORM package icon.
After giving the SCORM package a name, you can either click the Add button or drag and drop the .zip file into the box to upload it.
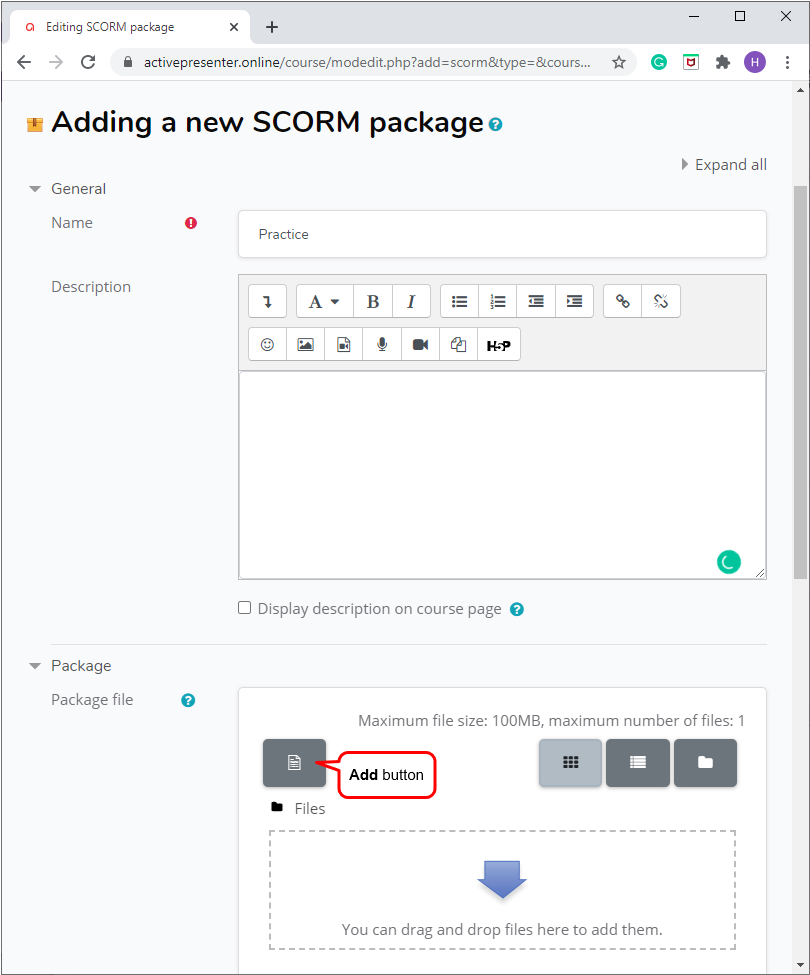
Finally, click Save and display to finish.
Enroll Learners in the Course
You have created an eLearning course and uploaded it to ActivePresenter Online. Let’s learn how to enroll learners in a course in this part. There are several methods of enrolling learners into courses once they have logged in to ActivePresenter Online.
Manual Enrolment
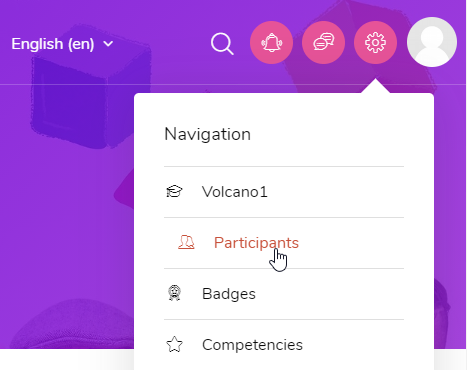
The first way of enrolling learners into courses is Manual enrolment. Open the course that you want to enroll learners in > click the Gear icon at the top right corner of the screen > select Participants.
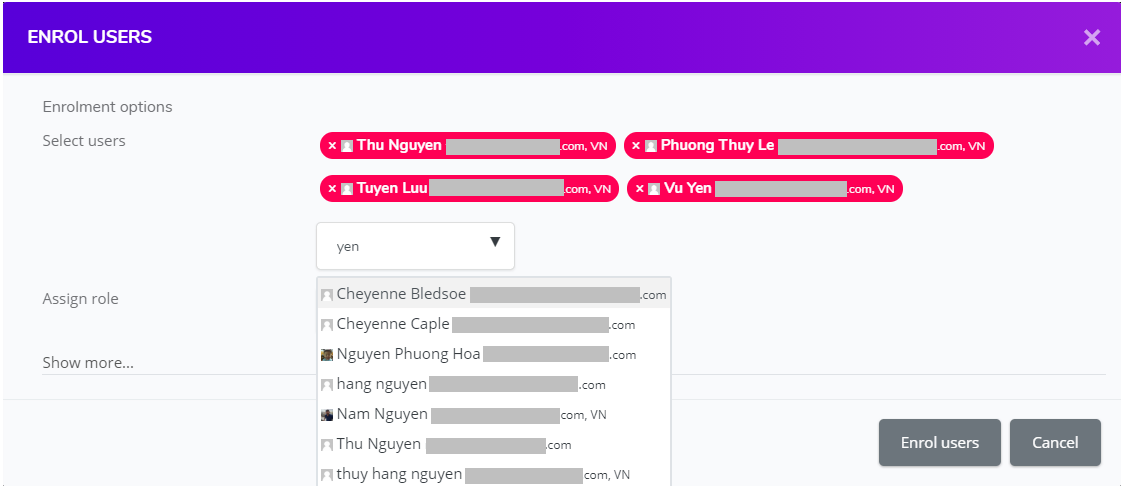
Click the Enrol users button, then a dialog will show up. Here you type learners’ names into the Select users section, then click Enrol users to finish.
After enrolling learners in your course, you can send messages/emails or a course link to notify them. ActivePresenter Online gives you the ability to send an email message to all the learners who are enrolled in your course. You can use the Participants list to send a message as follows:
- Open your course > Settings (gear icon) > Participants.
- Select the checkbox next to one or more learners > choose from the drop-down menu “Send a message”.
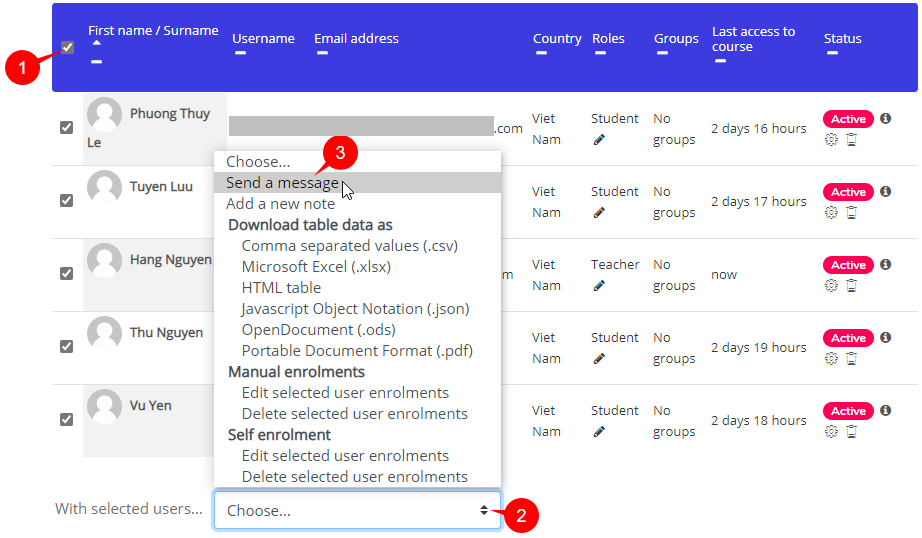
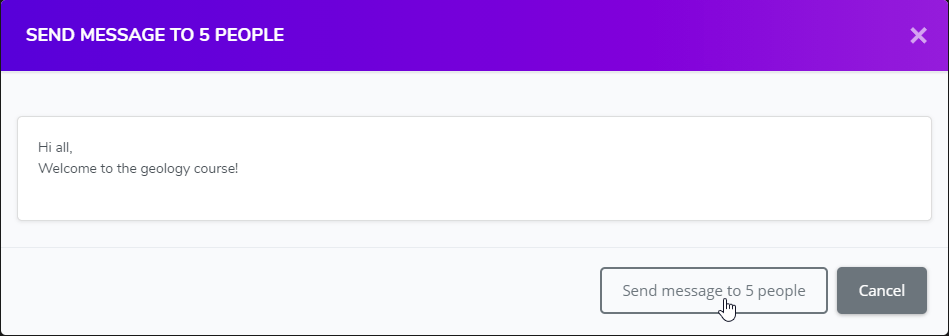
- Compose your message and click the “Send message to x people” button.
This process sends a message to each learner. They receive it by default in one of the following ways:
- If they are Online, it pops up as a message and goes into their Messages folder.
- If they are Offline, then it goes into their Messages folder and is sent as an email.
- There is No subject or context on the message, so you should include the name of the course in the message to give it a context.
Guest Access and Self Enrolment
Besides the Manual enrolment method above, there are 2 other ways to enroll learners, which are Guest access and Self enrolment. To show these methods, click the Page Settings button at the bottom left corner of the screen > Enrolment methods.
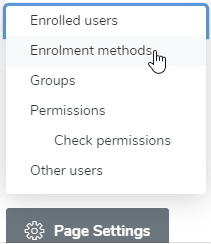
You then can select Guest access or Self enrolment.
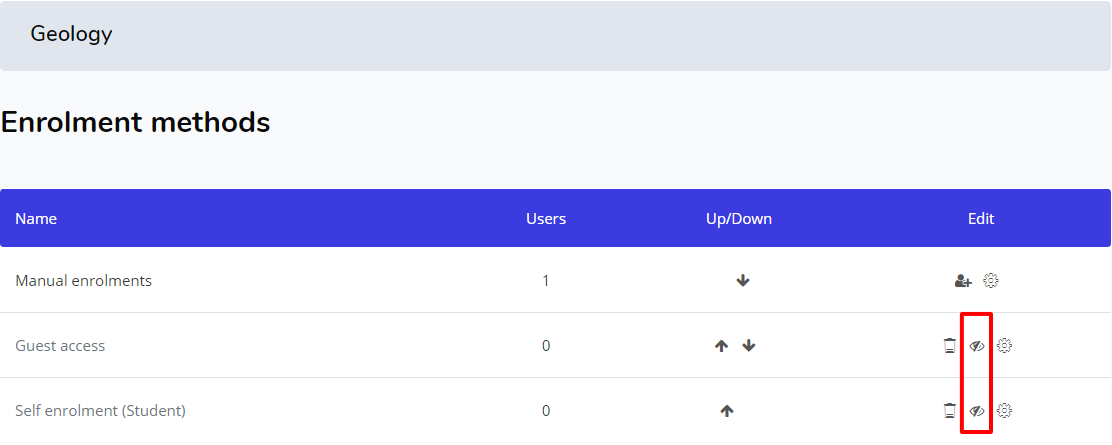
- Guest access: click on the eye icon to enable this mode, guests will be allowed to view the course contents, but cannot participate in them.
- Self enrolment: click on the eye icon to enable this mode, then learners can sign up for courses themselves.
Track Learners’ Results
To track learners’ results, you open the course, then click the Report tab.
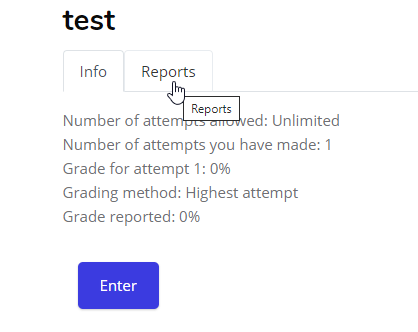
You then can see several types of reports as follows:
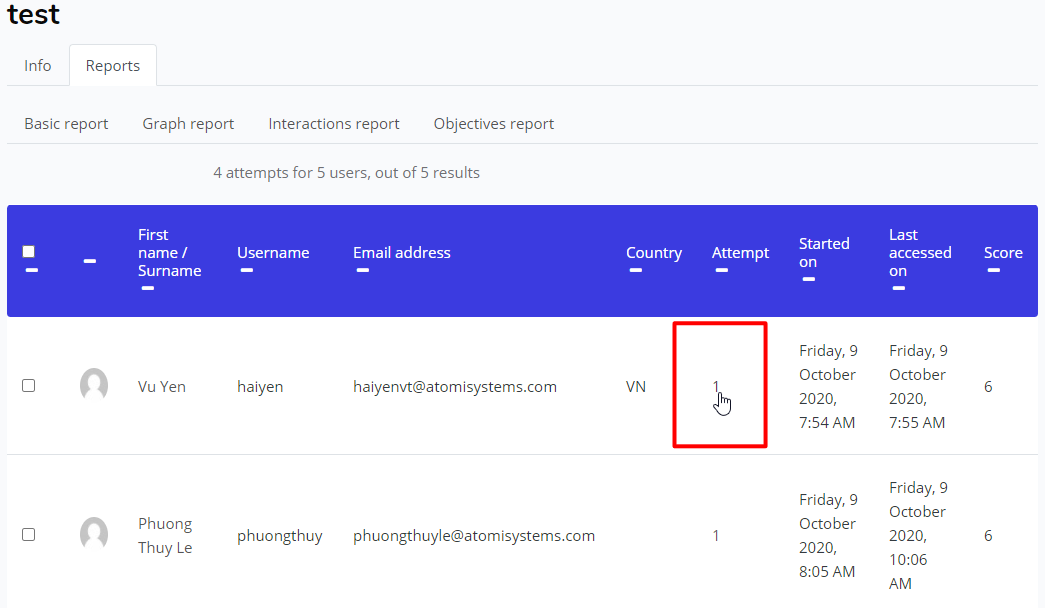
- Basic report: Allows you to see general information such as name, emails, attempt, start date, last access, and score. For more details, you can click on the number in the Attempt section, then choose Track details.
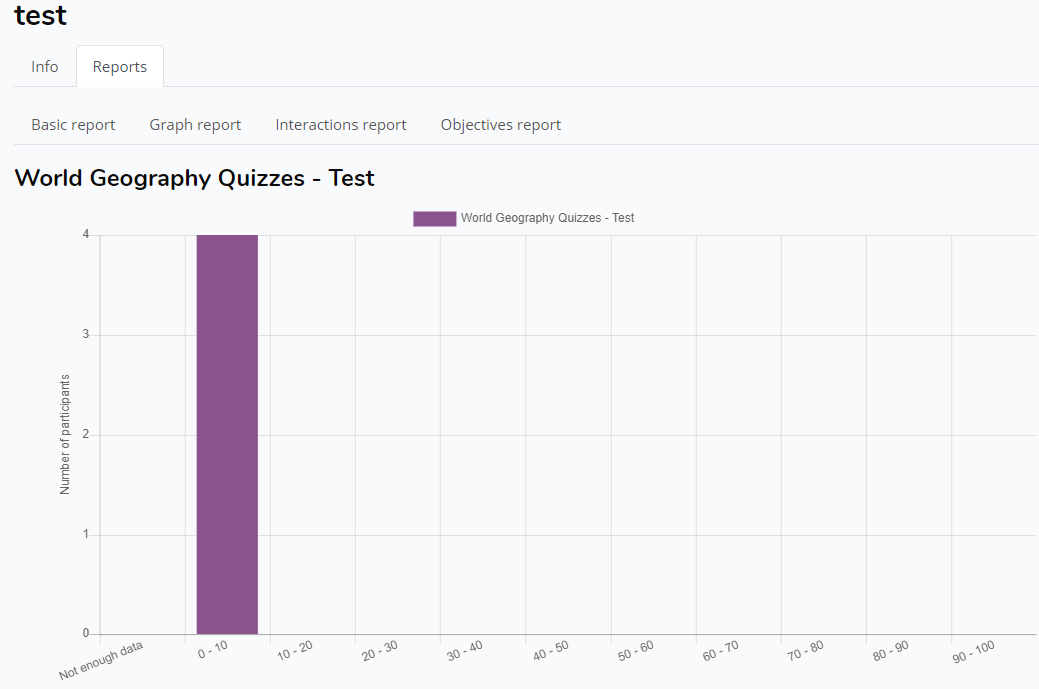
- Graph report: This is the type of report where the data will be displayed as a graph.
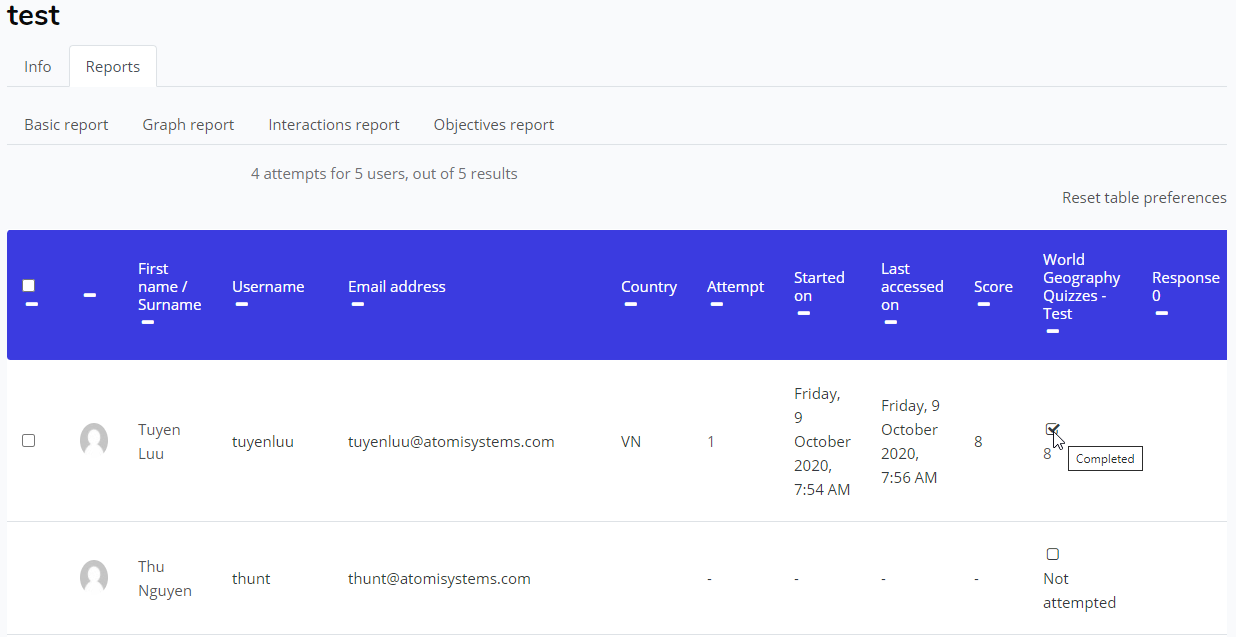
- Interactions report: The information in this report is the same as that in the Basic report. Besides, there are two more columns on the right side of the report indicating the course status and response of learners.
- Objectives report: Includes the same information as in the Interactions report, excepting for the Response column.
Now you have learned how to upload courses, enroll learners, and track results in ActivePresenter Online. Contact us via email at support@atomisystems.com if you have any questions or concerns.