It is undeniable that a precise and professional-looking eLearning course presentation will be easier to draw the full attention of learners than an unorganized one. In ActivePresenter, you can completely create a perfect online lesson like that with the support of the Ordering Objects and Aligning Objects tools. Let’s take a look at them in this tutorial.
Ordering Objects
When you insert multiple objects into a slide at once, they will overlap each other. Then, every newly inserted object will cover the previously added object partly or fully. This vertical order of object placement is called Z-order.
To modify the positions of objects on the slide, you can click, drag and drop each object to where you want. However, if you only want to adjust the stacking order for purpose of creating some special effects, take further actions below.
Step 1: Access the Z-order options.
- Select the object that you want to change the z-order on the slide, and click Order in the Home tab, or in the Format tab (1), click Order (2).

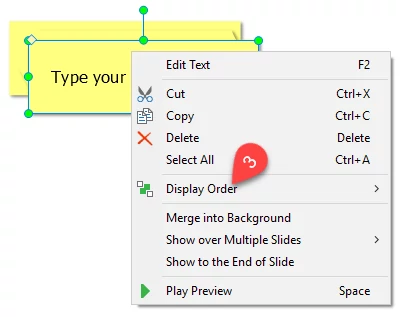
- Or right-click your desired object, and point to Display Order (3).
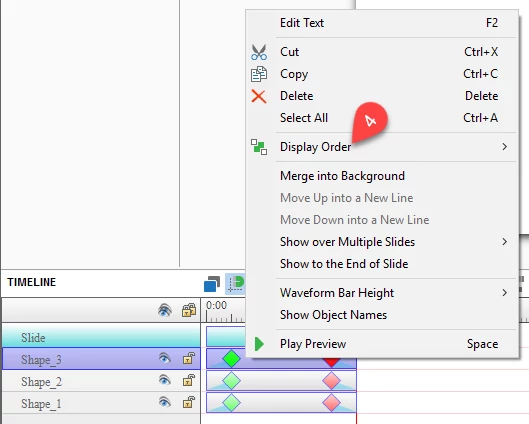
- Or right-click the time bar of the desired object, and point to Display Order (4).
Step 2: Choose one of the object order options below:
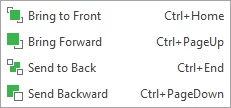
- Bring to Front: Place the selected object to the top. When you click the play button, it will appear on top of all others.
- Bring Forward: Move the selected object up one level in the stack.
- Send to Back: Send the selected object to the background (to the very bottom of the stack). When you preview the slide, it will appear behind all others.
- Send Backward: Move the selected object one level lower in the stack.
Aligning Objects
ActivePresenter supports many options for aligning objects both vertically and horizontally.
Aligning Objects with Each Other
This is a snap mode for the working space (Canvas) in ActivePresenter. Thus, you can accurately resize, place and align objects in the ActivePresenter design window.
Step 1: Click Canvas Snapping (6) in the View tab (5) to turn the snap mode on.

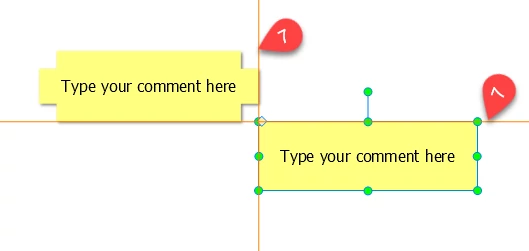
Step 2: After that, when you draw, move or resize objects, their edges will snap to the nearest orange lines (7).
Aligning Objects with an Anchor Object
An anchor objects (or a reference object) is simply the last object you select with green resizing handles, while other objects have white resizing handles.
Follow the next steps to perform this task:
Step 1: Select the objects by holding down the SHIFT key while clicking the individual objects.
Step 2: In the Home tab, click Align, or in the Format tab (8), click Align (9), and then select one of the alignment options (10) below:
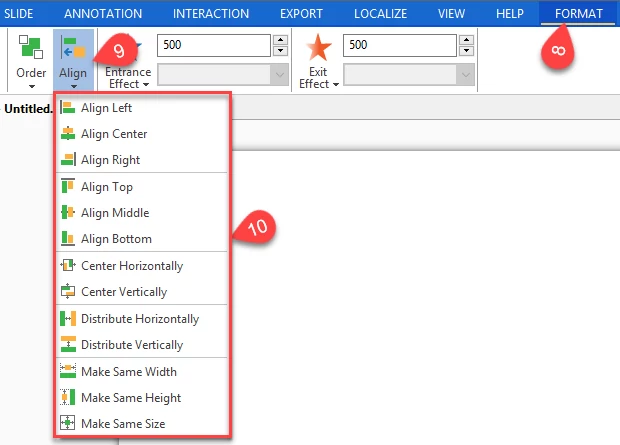
- Align Left: Make the left side of other objects align with the left of the anchor object.
- Align Center: Make the center of other objects align with the center of the anchor object.
- Align Right: Make the right side of other objects align with the right of the anchor object.
- Align Top: Make the top of other objects align vertically with the top of the anchor object.
- Align Middle: Make the top of other objects align vertically with the center of the anchor object.
- Align Bottom: Make the bottom of other objects align vertically with the bottom of the anchor object.
- Center Horizontally: Move all objects to the center of the canvas horizontally.
- Center Vertically: Move all objects to the center of the canvas vertically.
- Distribute Horizontally: Make the horizontal spaces between selected objects equal.
- Distribute Vertically: Make the vertical spaces between selected objects equal.
Remember that two last commands in the list above work only when more than two objects are selected.
Resizing Objects to an Anchor Object
In contrast to the previously described feature, this feature will generally help you to change the size of selected objects to an anchor object.
You can choose any of the following options (11):
- Make Same Width: Match the width of other objects with that of the anchor object.
- Make Same Height: Match the height of other objects with that of the anchor object.
- Make Same Size: Match both the height and width of other objects with those of the anchor object, respectively.
Now, you get full information about ordering and aligning objects in ActivePresenter. If you want more detail, please email us.