In addition to videos, images are often considered as one of the most important factors in designing eLearning courses. An online presentation integrated with right pictures is highly likely to make a lasting impression in learners’ mind. This tutorial will help you to get a better idea of how to insert images into slides in ActivePresenter. Take the time to keep up with our latest feature updates here.
Inserting Images
In ActivePresenter, you can insert images into slides as annotation objects or backgrounds.
Inserting Images as Slide Backgrounds
There are several different ways to perform this task, but in this article, I will introduce you one of them.
Step 1: Select a slide that you want to insert an image as the background.
Step 2: In the Home tab (1), point to Slides From (2), and then click From Images (3).

The following steps are the same as when you launch an Image project. To find out more information about inserting images as slides, please check out our tutorial Inserting and Removing Slides.
Inserting Images as Annotation Objects
Using an image as an annotation object means that you can customize its base style, reposition and insert multiple pictures into a slide.
Two methods for adding new images are as follow:
- In the Annotation tab (4), click Image (5).

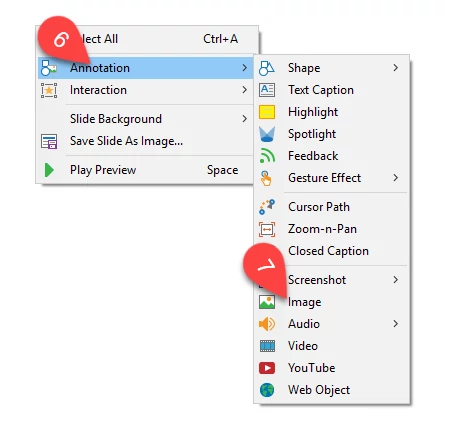
- Or right-click anywhere on the slide, point to Annotation (6), and then click Image (7).
Adjusting Images
After an image is inserted on the slide, take further steps to modify it:
Step 1: Resize and reposition the image
- Click, hold and drag one of the green handles to change its size and position (8).
- Then drag the image to where you want it.

Step 2: Edit the image
This step helps you to change the appearance of the image with many basic options.
To open the Image Editor, do the following actions:
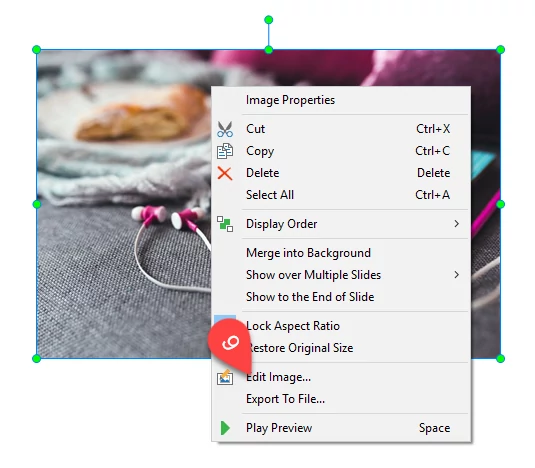
- Click anywhere on the image.
- Select Edit Image (9).
Then, the image will be moved to the Image Editor. In ActivePresenter, all image editing options (such as crop, rotate, scale, fill color, etc.) are placed in the Drawing tab (10).

Step 3: Further customize the image
If you want to change some other attributes of the image, go to the Properties Pane.
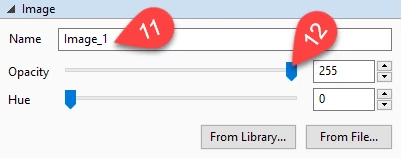
- Rename the image (11).
- Adjust the opacity in the Image section (12).
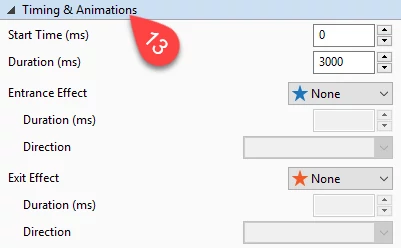
- Adjust the start time, time duration and transition effects in the Timing & Animations section (13).
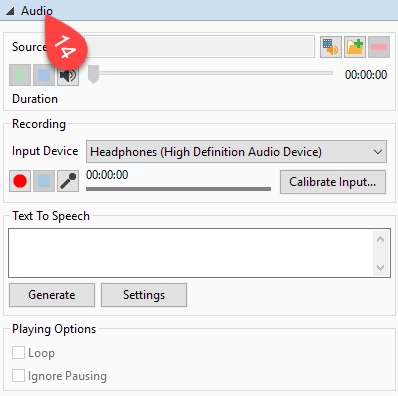
- Record your own voice or use a sound from Library or disk to insert into the image in the Audio section (14).
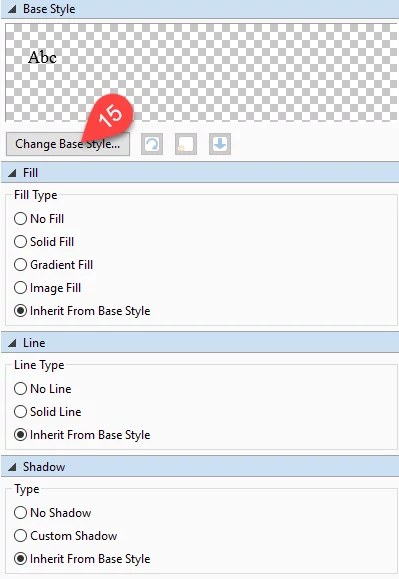
- Change the style of the image (15).
Deleting Images
If you want to remove any images, just delete it by selecting the image and pressing Delete key on your keyboard.
This is how to insert images into slides in ActivePresenter. Try it today and if you have any question, please contact us.