Spotlight is a useful annotation object in ActivePresenter. It helps you easily direct your audience attention to a specific part of a slide. In this tutorial, you’ll learn how to create a spotlight effect in ActivePresenter 7.
Inserting Spotlights
To create a spotlight effect, do the following:
Step 1: Click the Annotations tab > Spotlight.
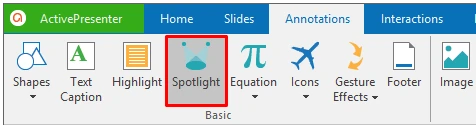
A spotlight object is immediately inserted in a slide. It retains the original brightness within the spotlight shape while darkening the rest of the screen.
Step 2: Resize and reposition the spotlight object as you wish. You can drag the resizing handles (green dots) to change the size and drag the object to a new position.
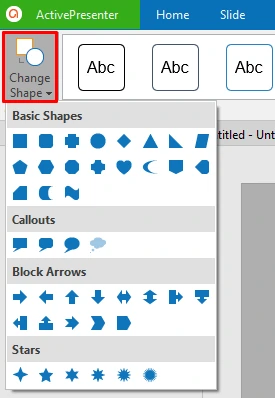
Step 3: Optionally, change the spotlight shape by clicking the Format tab > Change Shape > choose a new shape.
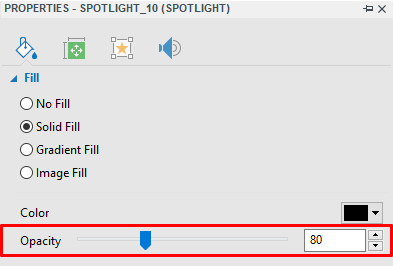
Step 4: Optionally, adjust the transparency level of the area surrounding the spotlight shape. Just select the spotlight object, click the Properties pane > Style & Effects > Fill > Opacity.
Note: Another way to draw attention to an area is using highlight objects. Highlight is a transparent, colored rectangle shape that can be placed over a certain area on a slide to highlight that area. Insert this object to a slide by clicking the Annotations tab > Highlight.
Creating a Spotlight Effect of Your Own
Do you want a spotlight effect that casts a focused beam of light like a flashlight? Something like this:

ActivePresenter allows you to create this effect by using shapes and gradient background fill. Let’s see how to make the effect from scratch.
Step 1: Create the light source. Do the following:
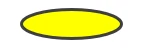
1. Draw an oval (Annotations tab > Shapes > Oval).
2. Change the Solid Fill color to yellow (Properties pane > Style & Effects > Fill).
3. Switch from No Line to Solid Line (Properties pane > Style & Effects > Line). Change the light color and width if you want.
Step 2: Create the light beam. Perform the following:
1. Draw a trapezium for the light beam using the Freeform Shape drawing tool. Then, place the light beam under the light source.
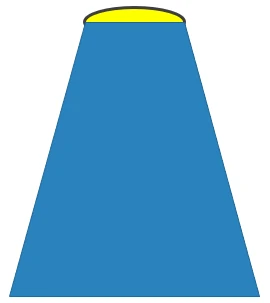
2. Switch from Solid Line to No Line.
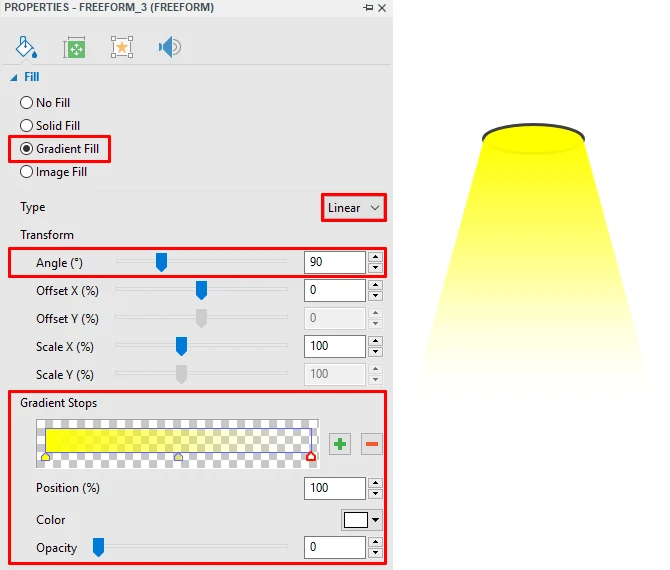
3. Change the fill color and reate a gradient fill for the light beam. In the Fill section, select Gradient Fill > Linear gradient type with a 90-degree angle (to make the fill direction straight). After that, add three gradient stops:
- Stop 1: Position 0%. Yellow. Opacity 255 (non-transparent).
- Stop 2: Position 50%. Yellow. Opacity 100 (semi-transparent).
- Stop 3: Position 100%. White. Opacity 0 (fully-transparent).
Now you can spotlight the object by placing it right under the light source, or make interesting effects like this:

That’s all about spotlight effects in ActivePresenter. Hope that this helps. Don’t forget to subscribe to our website so that you’ll be alerted with all future tutorials.