Using interactive software simulations for training provides your audiences a lot of theoretical information along with practical experiences. They are required to process some specified actions to get a certain outcome, hence it’s easier for them to understand the software use. In this article, I will walk you through two capture profiles that you can use to Create an Interactive Software Simulation with ActivePresenter.
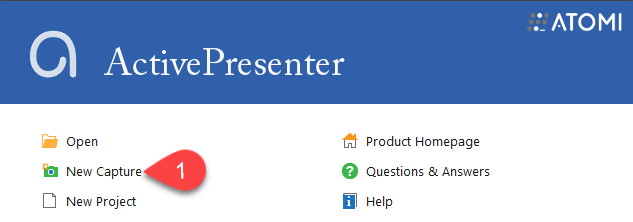
After launching ActivePresenter, the Welcome Screen will be presented. Take following steps:
Step 1: Click the New Capture icon. (1)
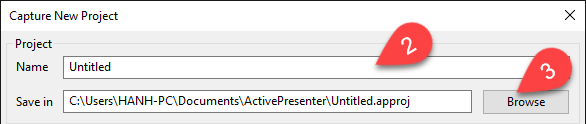
Step 2: Name your project in the Name box (2) and save it (3) in the Capture New Project window.
Capture Profiles for Interactive Software Simulations
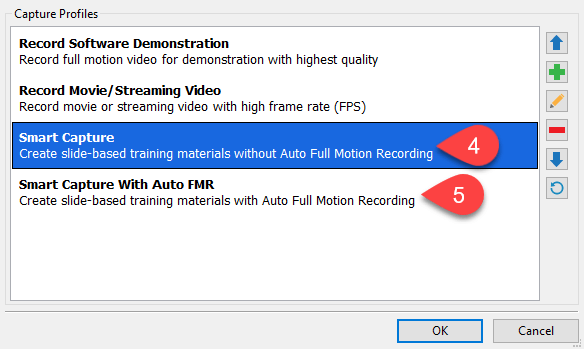
In the Capture New Project window, you can see that ActivePresenter offers four capture profiles for you to choose depending on your specified purpose.
Step 3: Select Capture Profile.
To create an interactive software simulation, you can choose either the Smart Capture with Auto FMR or Smart Capture. We will take a closer look at each of the two to clearer understand.
1. Smart Capture with Auto FMR
The first profile you can choose is Smart Capture with Auto FMR. (4)
- The Smart Capture with Auto FMR lets you record your screen at either full or a custom size.
- ActivePresenter creates a new slide whenever you do a mouse click or key press, then saves your project as a slide-based training material.
- ActivePresenter switches automatically between the Smart Capture and FMR capture type. This means it will capture in the Smart Capture mode and temporarily switch to the FMR capture type whenever having a mouse drag and mouse wheel.
2. Smart Capture
The second option for you is Smart Capture (5).
- ActivePresenter allows you to create a slide-based project without Auto Full Motion Recording.
However, you can still manually switch between the Smart Capture and the FMR capture type by using hot keys. (F9 to start using the FMR type and F10 to stop using it)
- ActivePresenter also creates a new slide whenever the mouse is clicked or a key is pressed, and the result is a project with multiple slides or videos. This is very useful when capturing a text typing or a mouse drag-n-drop operation.
- Using this capture type brings you several rewards:
Firstly, the project is divided into steps so it’s easier to manage and edit.
Next, you can create interactive HTML5 content output with high quality and small size.
And the last but not least, it displays the Cursor path smoothly.
Navigation Buttons
ActivePresenter offers you some navigation buttons on the right side of the window to have more controls over the capture. Keep walking through them to see what they are used for.
Step 4 (Optional): Working with Navigation buttons.
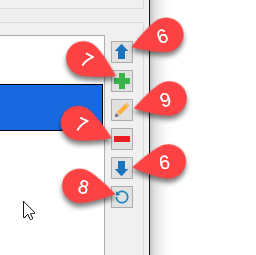
The Up and Down arrow (6): let you move up and down between four capture options.
These Add and Remove icon (7): allow adding new capture profiles or removing them.
The Restore Default button (8): is used to reset the capture profiles to their default values.
The Capture Profile Editor icon (9): offers you more controls to customize your project.
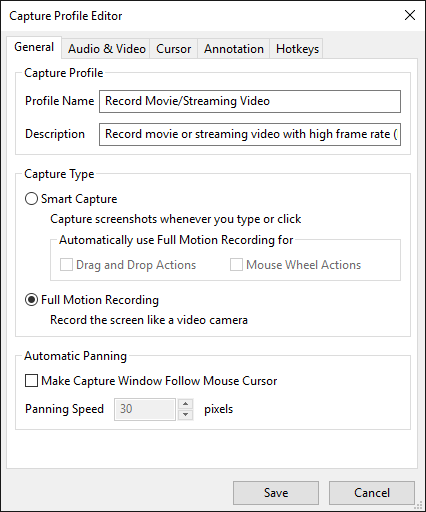
The Capture Profile Editor dialog has five tabs containing settings for General, Audio & Video, Cursor, Annotation and Hotkeys. You can start recording your screen without changing any property here. However, if you hope to know more in details of it, please take a look at Working with Capture Profile Editor video available on our website.
Let’s get started to create a stunning and engaging interactive software simulation with ActivePresenter today and feel free to let us know if you need help.